lofilolo/iStock/Getty Images
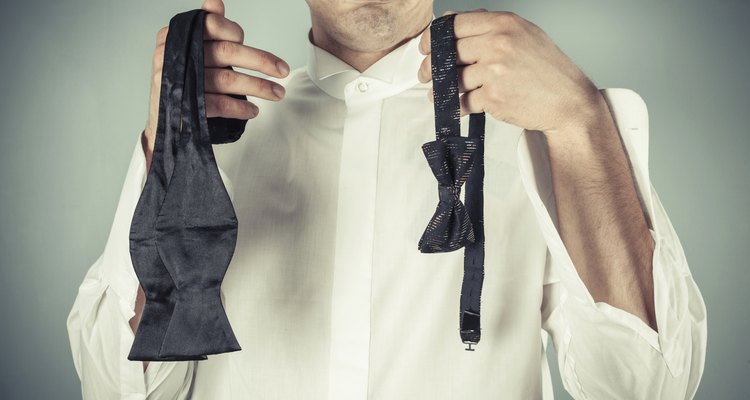
The instructions for putting on a clip-on tie are right there in the name -- simply clip it right to your shirt. The process varies a bit depending on whether you sport a single-clipped neck tie or a double-clipped bow tie. Once you secure the tie to your collar, this no-hassle fashion accessory doesn't require any sort of adjustment and breaks away easily when needed, making it a preferred choice for active professionals such as police officers and security guards, in particular.
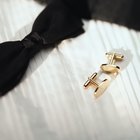
No-Hassle Neck Ties
Choose a tie of the proper length -- clip-on styles are not adjustable, so it's essential to buy the right one from the get-go. When held up to your collar, the bottom tip of the tie should fall at the top of your belt buckle or the waistband of your pants.
Button your collared shirt up to the top button. Open the clip-on's lever-style clasp by pushing the lever upward.
Place the tie's knot at your shirt's top button, right in the center of your neck between the two parts of the collar, so that the clasp hangs over the shirt.
Press the lever down. It snaps into place over the tie clasp's button, securing the tie in place until you give it a gentle upward tug.
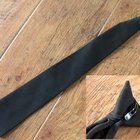
Go With the Bow
Fold the two sides of the bow tie outward, using the lever-like clasp on either side. This reveals two, prong-like metal clasps on either side of the knot, which are positioned horizontally when wearing the tie.
Button your collared dress shirt all the way up to the top button. Position the bow tie so that the knot rests directly between the two parts of your collar.
Slide one clasp over the left or right side of the collar, so that the collar is in-between the two prongs. Slide the opposing clasp over the other side of the collar.
Press each side of the bow tie down, securing the clasps onto the collar. You may need to slide the clasps up or down on either side of the collar to make sure your tie is level.
Related Articles

How to Tie a Zipper Tie
How to Tie a Clip-on Tie Knot

How to Loosen a Tie

How to Make Shirt Garters

How to Put on a Clergy Collar
How to Adjust Clip-On Suspenders

How to Put on Suspenders
How to Shorten a Nixon Watchband
How to Keep Your Neck Tie From Slipping

How to Put on Clip Suspenders

How to Make a Necktie With Elastic
How to Fold a Naval Neckerchief

How to Retie a Pre-Tied Tie
How to Measure a Necktie
How to Determine the Length of a Bow ...
How to Wear a Tie With a T-Shirt

How to Clean Polyester Neckties
How to Repair a Clip on Tie
How to Tie an Army Necktie

How to Put Rank on an ACU Cap
References
Writer Bio
With a diverse professional background and a decade of experience as a freelance writer, Dan has contributed lifestyle content -- from fashion to travel to fitness and more -- to publishers including Chron, Fortune, Sony, GlobalPost, ModernMom, Moviefone, Salon.com, Techwalla and dozens of others.
Photo Credits
lofilolo/iStock/Getty Images