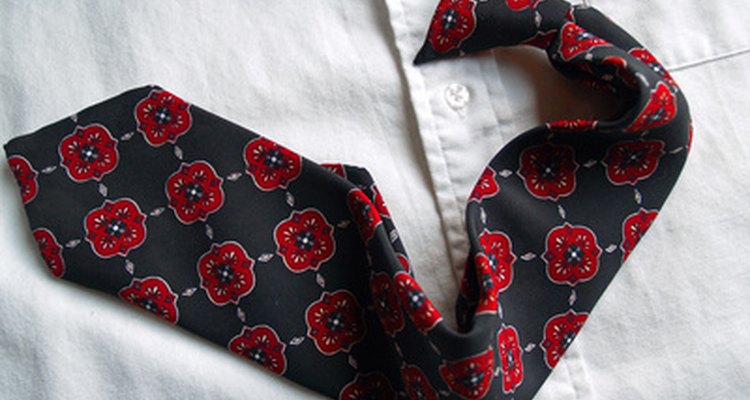
When making your own clip-on tie you must learn how to tie a tie properly. Once clipped and sewn, the tie knot will be permanent — knot mistakes can't be undone. There a few ways to tie a knot, and they usually depend on the occasion. A four-in-hand knot is an asymmetrical knot that works well with button-down shirts. The knot is a standard one that is appropriate for almost all occasions. Another type of knot is the Windsor knot. It is a wide, symmetrical knot that is usually reserved for formal occasions.
Four-In-Hand Knot
Drape the tie around your neck. Extend the wide end of the tie 12 inches below the narrow end of the tie.
Cross the wide end over the narrow end. Then cross the wide end again over the back of the narrow end so that it is almost completely looped around the narrow end.
Cross the wide end of the tie over the front of the narrow end again completely looping the narrow end. Pull the wide end up through the back of the loop. Pull the wide end down through the front of the loop while holding the knot with your index finger.
Hold the narrow end of the tie and slide the knot up to tighten it. Adjust it until it is comfortable.
Cut the necktie two inches away from the knot.
Windsor Knot
Drape the tie around your neck. Extend the wide end of the tie 12 inches below the narrow end of the tie.
Cross the wide end over the narrow end. Pull the wide end through the loop around your neck.
Bring the wide end back down again and lay it flat on top of the narrow end. Bring the wide end underneath the narrow end and pull it towards the right. Pull the wide end back through the loop and to the right. The wide end should be laying wrong side out at this point.
Bring the wide end over the narrow end and pull it up through the loop again. Pull the wide end down through the front of the knot. Tighten the knot and adjust the collar.
Cut the necktie 2 inches away from the knot.
Related Articles

How to Fix a Tie

How to Tie a Zipper Tie

How to Loosen a Tie

How to Tie an Army Necktie

How to Tie a Necktie Step-by-Step

How to Tie a Necktie Shorter

How to Tie a Military Tie

How to Tie a Square Knot Necktie

How to Tie a Man's Tie in the European ...

How to Tie a Jabot Knot

How to Wear a Short Scarf Around the ...

How to Measure a Necktie

How to Tie a Necktie for Dummies

How to Make a Necktie With Elastic

How to Retie a Pre-Tied Tie

How to Tie a Kimono Belt for a Man

How to Put On a Clip-on Tie

How to Put on a Clergy Collar

How to Tie My Converses Behind the ...

How to Lace Fat Laces