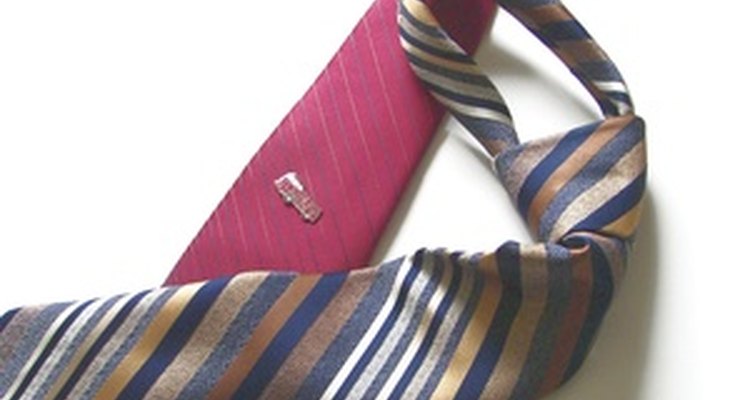
A clip-on tie is a generic term for any type of tie that easily attaches and detaches while the tie knot remains fixed. This allows the tie user to wear the tie without having to tie the intricate knot each time. Some ties use a type of clip that requires the user's shirt to be buttoned to the top button. Other types are more flexible and one style used frequently has a fixed tie that attaches behind the neck with a series of three snaps. The variable snaps allow the tie to be adjusted for different types of shirts and it doesn't require the top button to be buttoned for the user to use the tie. A hook and loop version of this clip-on style is even more flexible and easier to use.
Purchase a boy's size tie. If you cannot make a nice tie knot, have the salesman in the store tie the knot for you. Have the knot tied with 1-inch extra fabric at the back of the neck. Cut the tie vertically at the back center of the neck to remove the tie.
Turn the raw edges of each end under by 1/4-inch and cut a small piece of no sew tape to fit inside the tie. Iron the tie edge to seal the seam. Repeat for both sides.
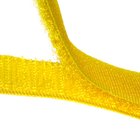
Cut a 2-inch strip of hook and loop tape (the kind designed for fabrics). Attach the hook and loop tape to the top side of one end and the bottom side of the other end so that when you overlap the two sides, the hook and loop will be connected. Iron the tapes in place. You can also sew or tack them in place for greater security.
Sew through the back side of the tie knot with a secure tack stitch. The stitch should not be visible through the front of the tie. You will sew through all but the top layer of the knot.
Related Articles

How to Use a Tie Hanger

How to Put on a Clergy Collar
How to Make a Bow Tie Stiff
How to Make a Satchel

How to Adjust a Self-Adjusting Watch ...

How to Make Shirt Garters

How to Attach Cub Scout Patches
How to Make a Ribbon Shirt

How to Make a Cravat
Types of Velcro

How to Clean Polyester Neckties

How to Replace Shirt Buttons With Cuff ...
How to Make a Jacket From a Sweatshirt

How to Pull a String Through Sweatpants

How to Tie a Clip-on Tie Knot
How to Hold a Band on a Cowboy Hat
How to Tie Board Shorts

How to Make a Necktie With Elastic
Making a Cummerbund

How to Make a Wedding Shawl
References
Writer Bio
F.R.R. Mallory has been published since 1996, writing books, short stories, articles and essays. She has worked as an architect, restored cars, designed clothing, renovated homes and makes crafts. She is a graduate of the University of California at Berkeley with bachelor's degrees in psychology and English. Her fiction short story "Black Ice" recently won a National Space Society contest.
Photo Credits
tie image by Joann Cooper from Fotolia.com