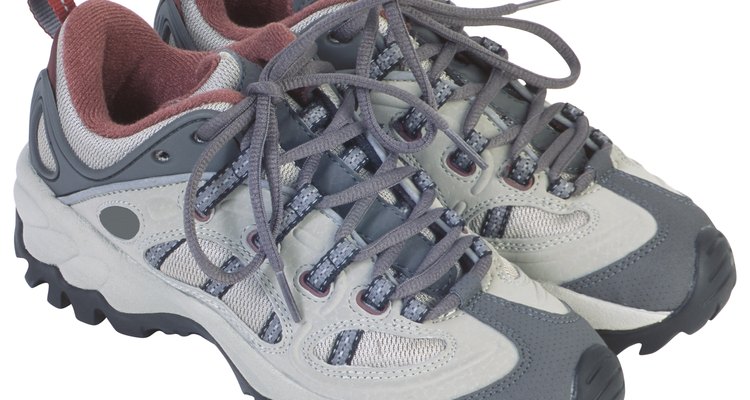
The insole of a shoe can serve several purposes, depending on its design. Its main function is to provide comfort by shielding your foot against the hard surface of the bottom of your shoe. It can also provide support, as is often the case with athletic shoe and orthopedic insoles, and leather insoles help to absorb perspiration. Replacing a worn-out or damaged insole, or installing an orthopedic or support insole in a shoe is very easy. All you have to do is trim the insole, if necessary, so it fits your shoe.
Insert your fingernail or a small screwdriver under the insole at either the front or heel end to loosen the insole. Pull the insole upward and away from the bottom of the shoe and remove it entirely. Use the heel end if the insole covers the entire length of the shoe and the front end if it stops at or just above the instep.
Trace the shape of the old insole or of the bottom of the shoe onto a piece of paper if the insole you purchased is not the exact one for the size and model of your shoe and does not fit right into your shoe when you try to insert it toe end first.
Use a pair of scissors or a utility knife to trim around the insole so that it matches the traced pattern. Trim a little more of the surface of the insole away if you traced the bottom of your shoe rather than an insole.
Insert the insole into your shoe, toe part first, and push it as far forward as it can go. Check the back of the shoe to make sure the entire inner heel is covered. Pull the insole back to cover the entire heel if necessary. Press down on the insole with your hand so it is firmly seated on the bottom of the shoe.
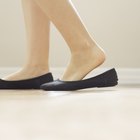
Put your shoe on with your normal sock to make sure it fits properly. Wear the shoe and walk around as you normally would so that the new insole sets correctly and conforms to the shape of your foot and your walking or running pattern.
Related Articles

How to Keep My Shoes From Sliding While ...

How to Replace Rubber on Heels
How to Use a Shoehorn
How to Make a Shoe Horn

How to Install Ugg Insoles
How to Replace Soles on Red Wing Boots

How to Properly Stick Shoe Pads in ...
How to Stop a Heel Slip
Fixing a Boot's Heel
How to Repair a Split Sole on Shoes

How to Change the Batteries in Kids' ...
How to Stop Clog Shoes From Squeaking
How Do I Shorten the Drawstrings on ...

How to Give Your Shoe Grip

How to Break in Man-Made-Leather Shoes
How to Make Your Shoes Slippery
How to Replace the Shoestrings in ...
How to Replace a Nike Shoe Insole
What Do the Numbers Mean on New Balance ...
How to Repair Boots With Uneven Wear on ...
Writer Bio
John DeMerceau is an American expatriate entrepreneur, marketing analyst and Web developer. He now lives and works in southeast Asia, where he creates websites and branding/marketing reports for international clients. DeMerceau graduated from Columbia University with a Bachelor of Arts in history.
Photo Credits
Hemera Technologies/PhotoObjects.net/Getty Images