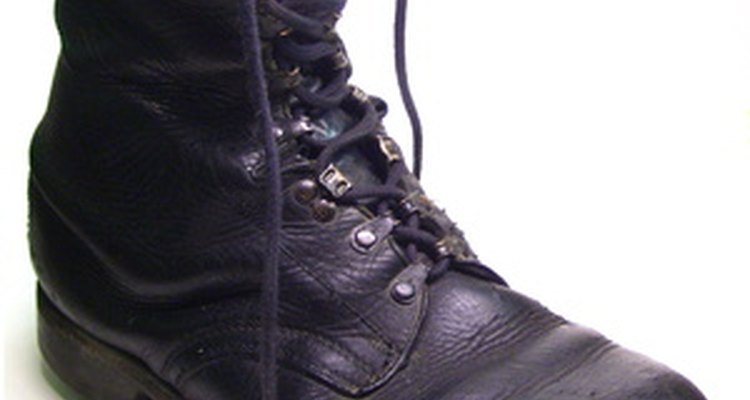
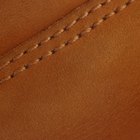
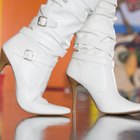
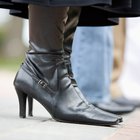
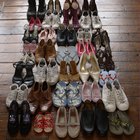
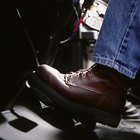
It's important to address problems with your heels quickly. Most boot heels can be repaired at home if the wear is relatively light, but if you continue to wear down the heels unevenly the whole heel will need to be replaced, which may require a professional. The longer you let the problem persist the worse for your boots and your body.
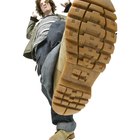
Many types of boot heels can be repaired at home, but not all. If the wear is more than a sixteenth of an inch you'll have to grind off so much of the heel that the boot will be unbalanced. Similarly, if the heel is composed of layers of material that are breaking apart, you may need to replace the whole heel. In this case, your best bet is to find a good cobbler in your area.
Remove any covering from the bottom of the heel, such as a rubber tap, if the wear is less than one sixteenth of an inch and the heel still has integrity.
Replace the tap. If you're lucky, this will be the only part of the heel you need to replace. Decide what you want to replace the worn out tap with. You can make your own tap from vulcanized rubber, cut to the dimensions of the heel, or you can buy shoe taps very inexpensively, if you can find the right size and shape. Please note, if you are shopping for these online, that they are called "taps," "tips" or "lifts." Goodyear actually makes shoe lifts if you want a particularly durable rubber.
Use sandpaper to grind down the heel underneath the rubber tap to a flat, smooth surface, if it is unevenly worn. Make sure it is level, using your ruler or level. Carefully wipe away any dust.
Use the same nail holes to attach your new tap to the heel, if nails originally attached the tap to the sides of the heel. Line up the new tap and hammer the nails gently into the previous holes to make sure everything fits. Do not hammer them in completely until you coat them with glue.
Remove the tap with the nails protruding. Coat both the nails and the edge of the tap with a strong glue, such as Shoe Goo. Insert the nails into the holes and hammer to make sure they're holding tight. Be sure to wipe off excess glue for a neat final appearance. Use the clamps to keep the new tap firmly in place until the glue dries. If you have chosen your taps well, they should last a long time.
Related Articles
How to Replace a Nike Shoe Insole

How to Replace Rubber on Heels
How to Fix the Bottom of the High Heels ...
How to Fix a Slingback Shoe
How to Install a New Insole in a Shoe
How to Replace Soles on Red Wing Boots
How to Lower a Boot Heel
How to Replace the Sole on Wolverine ...
How to Repair a Birkenstock Sandal
How to Replace Heels on Boots
How to Glue Shoe Inserts
How to Clean TEVA Sandals
How to Fix Shoe Sole Damage
How to Add Arch Support to Shoes
How to Keep Toes From Squeezing Out of ...
How to Stop Crocs From Making Noise

How to Give Your Shoe Grip
How to Repair a Split Rubber Sole

How to Reinforce Your Shoes

How to Keep My Shoes From Sliding While ...
Writer Bio
Heather Morton published her first book review in 2004 in the "Virginia Quarterly Review." She has had articles appear in "Studies in English Literature" and "Victorian Poetry" and has taught college-level writing for several years. Morton holds a Bachelor of Arts in math and political science from Williams College and a Ph.D. in English from the University of Virginia.
Photo Credits
black boot image by Danil Kashirskj from Fotolia.com