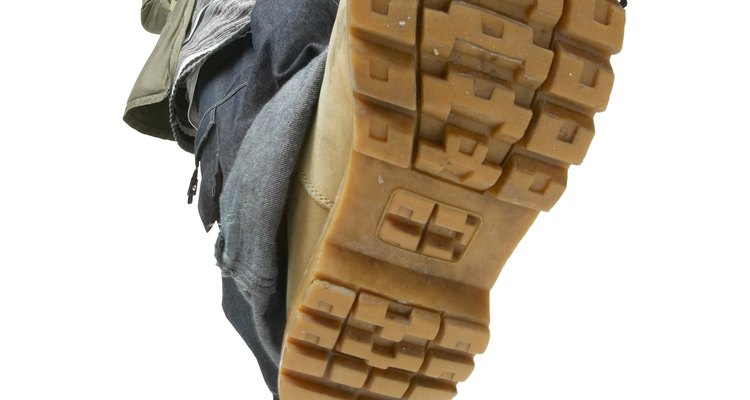
Wolverine boots are one of the most popular boot choices for men in blue-collar industries. Whether you are a construction worker, a miner or a locomotive engineer, there is a good chance that you have donned a pair of these trusty durable boots. Wolverine has been making boots for more than 125 years, since 1883. Wolverine started in Michigan and became famous for its 1000 Mile Boot line in 1914. Ever since, the company has been a leader in the work boot industry. Too often, however, the soles of these great boots are ruined while the boot is still perfectly good. When this happens, there is a better option than buying a new boot. Replacing the soles on your Wolverine boots is a great way to get the most out of these tough shoes' long life while saving money.
Examine the sole of your boot and determine where there are stitches and use your razor blade to cut them. Locate the nails in the bottom of the boot and, if there are any, use the nail puller and hammer to pry them out. Save the nails for the new sole.
Use your razor blade to cut the sole away from the boot. Once you have cut the perimeter of the sole free, use the razor blade, screwdriver and small flat bar to pry and cut away the sole from the rubber or leather padding.
Clean away all the residue on the leather padding of the boot using the cloth rag and the acetone.
Take the coarse sandpaper and sand the leather padding to increase the effectiveness of your adhesive. Put on gloves to wipe away dust from the leather padding.
Apply flexible shoe adhesive liberally to the full surface of the leather padding on the bottom of the shoe. Follow the manufacturer's instructions for the adhesive.
Place the new sole onto the bottom of the shoe over the adhesive, starting with the front of the shoe and laying it down until the heel is set on the adhesive. Pound the sole vigorously with the hammer to ensure that it is in place. Wrap the shoe with two or three zip ties and pull them tight to hold the sole firmly in place while the adhesive sets.
Repeat Steps 1 through 6 to replace the sole on your second boot.
Let the adhesive dry for 24 hours and then use the hammer to replace any nails that belong in the soles of your boots.
Related Articles

How to Wax Your Boots

How to Fix Sneaker Soles

How to Soften Leather Loafers

Fixing a Boot's Heel

How to Treat Doc Martens With Mink Oil

How to Repair a Split Sole on Shoes

How to Keep My Shoes From Sliding While ...

How to Preserve Leather Boots

How to Repair Doc Martens

How to Repair Cracks in Leather Shoes & ...

How to Polish Bass Weejuns

How to Properly Stick Shoe Pads in ...

How to Care for Your Blundstones

How to Repair Sperry Shoes

How to Replace Lace Grommets in Boots

How to Get Grease Out of Timberland ...

How to Make Snakeskin Boots

How to Make Leather Boots

How to Replace Rubber on Heels

How to Replace Soles on Red Wing Boots
References
Writer Bio
Robert Gomez has experience in the insurance and construction industries. He also designed the website for Unified Health Solutions, as well as other marketing materials such as brochures and business cards. Gomez is pursuing an Associate of Arts in English literature from Cuesta College.
Photo Credits
PhotoObjects.net/PhotoObjects.net/Getty Images