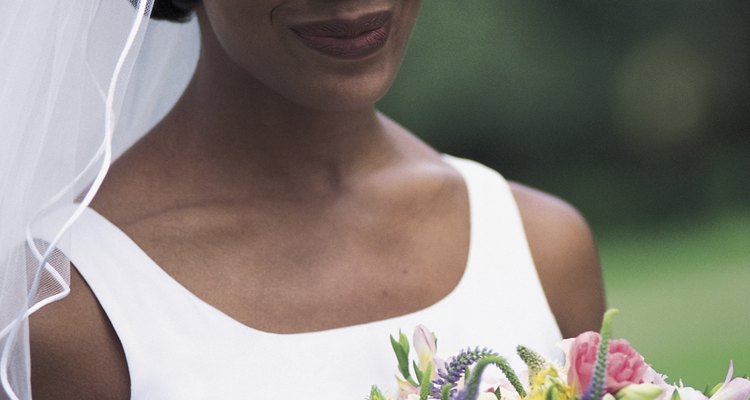
Whether you enjoy crafting or just need to shave the wedding budget, assembling your own veil will save you some money. You can also recycle a family member’s veil to suit your style. Unlike hair combs, veils attached to headbands allow you to remove the veil for the reception without harming your hairstyle. Padded headbands are easiest to work with when assembling your veil, but these add a significant amount of height. Plastic headbands can be uncomfortable, but will give you a smooth, low-profile fit.
Measure the headband from end to end. Cut a piece of nylon thread or clear fishing line twice as long.
String a clear or pearl bead onto the thread.
Place both ends of the thread through the needle.
Sew a running stitch along the upper edge of the veil no more than 1/4 inch from the edge. The bead will catch on the fabric and keep the thread in place. How large or small you make your stitches determines how gathered the veil appears.
Gather the fabric tightly along the string as you sew. Once you reach the other end, string another bead on the thread and knot it so the bead stays in place.
Place a 1/2-inch piece of double-sided tape on the outside of both earpieces of the headband.
Press one end of the gathered fabric to each earpiece of the headband.
Adjust the gathering to achieve the folds desired. If you're using a padded headband, stick a pin into the center of the headband through the fabric to hold it in place while you make adjustments. Otherwise, you hold it in place with your fingers.
Secure the fabric to the headband. Either lift the fabric carefully and lay down a line of hot glue along the headband or sew the fabric into place by looping more nylon thread or fishing line around the headband and the fabric. Both methods work equally well. If the headband is padded, you can sew through the headband instead of around it.
Related Articles

How to Crochet a Wedding Veil

How to Attach a Wedding Veil to a Hair ...

How to Make a Mantilla Lace Veil

How to Measure and Cut a Wedding Veil

How to Make Headband Wigs
How to Decorate Bridal Bouquets With ...
How to Connect Wig Clips
How to Hem a Wedding Gown With Horse ...

How to Hem a Sequin Dress
How to Tie a Western-Style Bandana
How to Make a Bridal Cape for a Wedding ...
How to Adjust Bead Extensions

How to Gauge Your Ears Without Tapers

How to Make a Can-Can Costume

How to Wear a Headband Without Hurting ...

How to Pluck Your Eyebrows With Strings

How to Get Tight Curls for a Straight ...

DIY Rhinestone Hair Comb
How to Wind a Spiral Perm Rod

How to Tie Your Hair Into a Tight Bun ...
References
Writer Bio
Transplanted Yankee Erin Watson-Price lives in Birmingham, Ala., and has been writing freelance articles since 1997. She worked as writer/co-editor for Coast to Coast Dachshund Rescue's newsletter, "The Long and the Short of It." In 2007 she obtained a certification as a copy editor. Watson-Price holds a Bachelor of Arts in creative writing from Southern Illinois University-Edwardsville.
Photo Credits
Ablestock.com/AbleStock.com/Getty Images