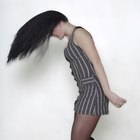
If your hair is thinning or flatter than you would prefer, you can give it a lift by wearing a small hairpiece, such as a headband wig. Although you can purchase a headband wig at a wig store, they can often be very costly. One solution is to make your own headband wig using craft supplies and acrylic wig hair. Once the headband wig is finished, you can wear it to add fullness to your natural hair.
Blow up a balloon to roughly the size of your own head. Knot the end of the balloon to prevent air from escaping.
Stretch a cotton jersey headband around the balloon.
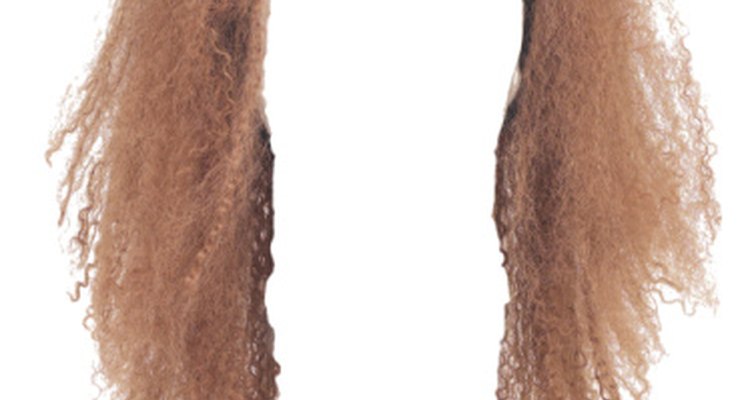
Cut pieces of acrylic wig hair to match the length of your own hair. Make sure to select wig hair that also matches the color of your hair.
Insert a hot glue stick into a hot glue gun, and plug it in to heat for approximately 10 minutes.
Apply a thin line of hot glue horizontally onto the headband on the area where your ears would be.
Press the cut wig hair onto the hot glue.
Apply another thin line of hot glue about 1/8-inch above the first line, and press more wig hair onto it. Continue adding hair in this manner until one half of the headband is full.
Repeat this process with the other side of the headband, working from the ear area toward the top of the headband.
Trim the ends of the hair to make them even or to perfect the look you are trying to achieve.
Related Articles

How to Make a Wig on a Sewing Machine
How to Make a Straight Wig Curly

How to Cut Bangs Into a Bob Wig

How to Use Keratin Glue Stick Adhesive ...

How to Add More Curl to My Wavy Hair

The Best Ways to Do a Gymnast's Hair
How to Re-Curl a Synthetic Wig

How to Use Velcro Rollers So They Don't ...
How to Connect Wig Clips

How to Get the Itch Out of Wool

How to Make Bangs With Glue in Hair ...

DIY Rhinestone Hair Comb
How to Use a Volumizing Finger Diffuser
How to Attach a Wedding Veil to a Hair ...
How to Do a Sew-In Hair Weave on a ...

How to Do the Beach Wave With Hot ...

How to Highlight Wigs

How to Do Small Single Braids Yourself
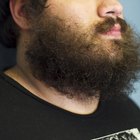
How to Straighten Your Beard Hair
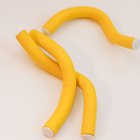
How to Curl Hair With Foam Rollers
References
Photo Credits
Hemera Technologies/PhotoObjects.net/Getty Images