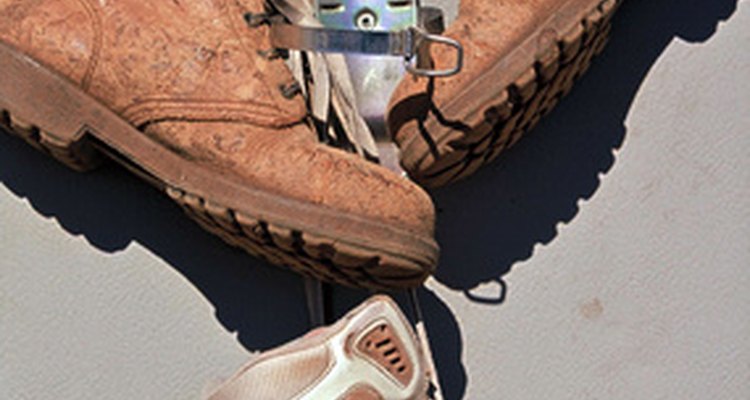
Wader boots are used by fishermen and -women to wade in fast-moving waters while fly-fishing. The waders require breathable material for the upper part to prevent trapped bacteria from causing infections or fungus. The soles must have the ability to provide traction in the water and to prevent slipping on loose rocks or gravel. The foot-bed of the boot should be made of antimicrobial microfiber.
Some fly-fishers complain about the relatively high cost of wader boots, which can range from $85.00 to $170.00, and rarely last more than two seasons. Making your own boots is a great way to combat these costs, but without the required machines and experience to stitch a pair of boots from scratch, it is safer and more practical to modify an existing pair of footwear to make them water-safe.

Put the sneakers or hiking boots on and stand on the material purchased for the sole of the shoes (rubber, neoprene, etc). Have another person trace around both feet. This will make the pattern the most accurate.
Use the box cutter or heavy-fabric scissors to cut out the patterns of both soles. Spread a liberal amount of glue on both pattern pieces and on the soles of the sneakers or boots.
Align the pattern pieces with the soles of the shoes. Carefully place each pattern piece on the soles and press. Hold for 20 seconds. Spray the shop rags with water until each one is damp.
Stuff both boots with the shop rags, making sure to stuff all the way to the ends of the toes. Duct tape the new soles to the boots by wrapping from side to side and top to front to bottom. Pull the tape up tightly to put as much pressure as possible.
Leave the boots in a dry area for 48 hours or more. Remove the duct tape after the glue has set. Trim any over-hanging sole material. Allow the boots to cure for seven to 10 days before wearing them in water.
Related Articles

How to Fix a Crack in My Hunter Wellies

How to Fix a Leaky Pair of Rubber Boots

How to Repair Rubber Boots

How to Sew slippers

How to Make Leather Boots

How to Fix Timberland Boots Damaged by ...

How to Clean the Insides of Rubber Boots

How to Clean TEVA Sandals

How to Glue Soles on Cheap Work Boots

How to Care for Asolo Leather Hiking ...

How to Take Care of Doc Martens

How to Prepare UGG Boots for First Time ...

How to Clean Insoles of Shoes

How to Wash Moccasins

How to Care for Vinyl Women's Fashion ...

What Are Pac Boots?

How to Make Homemade Waterproofing for ...

How to Clean Cloth Snow Boots

How to Clean Airwalk Ugg-Style Boots

How to Shine Brand New Corcoran Jump ...
References
Writer Bio
Barbara Stanley has been writing since 2003. Her stories have appeared in many national publications such as "Country Woman," "Wildbird," "Grit," "Capper's" and over a dozen more. She has a story on past loves published in the book, "If only I Could Tell You." Stanley has studied at the Pearl River Community College and the University of Southern Mississippi.
Photo Credits
mining boots image by Steve Lovegrove from Fotolia.com