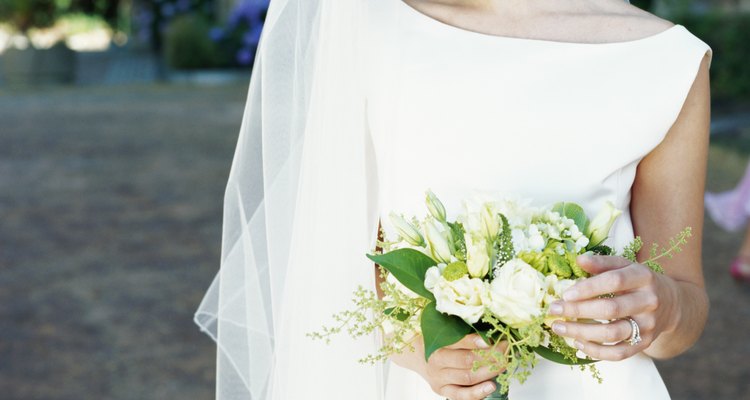
With the average cost of bridal veils rising well into triple figures, many money-conscious brides are choosing to make their own veils for their wedding days. However, cutting the tulle fabric incorrectly can result in a veil that is lopsided or scraggly in appearance. To avoid any mishaps in your creation of a delicate, polished-looking wedding veil, ensure that your material is lined up correctly and that you cut the tulle using long, precise movements.
Decide on the length of your bridal veil. To create a blusher veil, the length needed is 18 to 24 inches. For a waist-length veil, use 30 inches. Fingertip veils are 40 inches while chapel-length and cathedral-length veils are 72 and 108 inches respectively.
Fold your tulle fabric in half lengthwise and measure the necessary length based on the style of veil you want. Mark the required measurement with pins.
Lay paperweights on top of your veil fabric to keep the layers from separating. This will help to keep the cut of the veil even and symmetrical.
Cut off the veil's excess length at the point where you placed the pins. To give the veil's end rounded corners, use the scissors to create a gradual curve on the outside edge of the veil's fabric. (This is the edge where the two sides meet rather than the center fold.) Your curve doesn't need to be drastic; a slightly curved corner will help to soften the ends for a graceful finish.
Unfold the tulle fabric and inspect the edges. If there are any jagged or uneven edges, trim them away with the scissors.
Related Articles

How to Create Pencil Edging on a Veil

How to Hem a Sequin Dress

How to Make a Chapel Veil

How to Make a Tutu Stick Out

How to Steam Wedding Veils
How to Decorate a Wedding Arch with ...

How to Make a Mantilla Lace Veil

How to Make an Edge for a Bridal Veil

How to Make a Child's Veil
How to Decorate Bridal Bouquets With ...
How to Sew a Nightgown

How to Crochet a Wedding Veil
How to Hang Tulle From the Ceiling

How to Make a Dress Poof

How to Make a Petticoat Slip for a ...

How to Make a Jewish Prayer Shawl

How to Use a Sewing Machine to Make a ...

How to Make a Wedding Shawl

Adding Cap Sleeves onto a Wedding Gown ...

How to Do a Ballroom Bustle
References
Writer Bio
Andrea Hamilton has enjoyed being a writer since 1996. She has been published as a poet in "Fine Lines Magazine." Hamilton holds a Bachelor of Arts in literature from Iowa State University and is pursuing a Master of Arts in creative writing from London South Bank University.
Photo Credits
Stockbyte/Stockbyte/Getty Images