


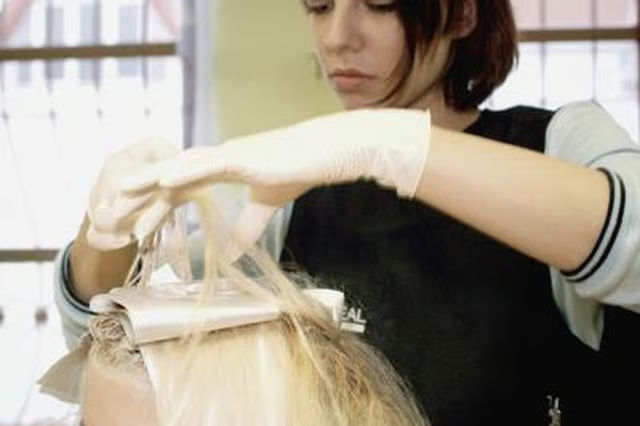
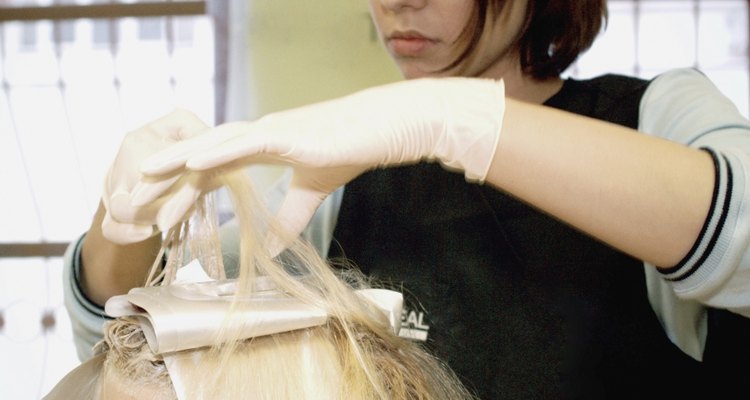
In an effort to capture the blond bombshell persona, some women resort to bleaching agents, including store-bought kits and hydrogen peroxide. These efforts don't always end in success, instead creating an uneven blond bleaching effect that has you reaching for a hat. Because bleaching is very harsh for your hair, heal your damaged, dry tresses before attempting to even out the color.
Step 1
Give your hair two or three weeks to heal before attempting to cover the botched bleach job. During this time, prepare your bleached hair to accept new dye. Visit the salon and have any damaged ends trimmed away. Wash your hair with moisturizing shampoo and conditioner. Apply a deep conditioning, hot oil treatment to your hair once-per-week. Work the treatment into your tresses, concentrating the product on any sections that feel dry or brittle, such as the ends. Allow the treatment to penetrate for 15 minutes before rinsing it away with lukewarm water.
Step 2
Choose a new hair color at the pharmacy or beauty supply store. If you're still determined to go light or platinum blond, choose a product that's labeled “ammonia free” to avoid further damaging your hair. Otherwise, consider dyeing your hair a darker blond, or even red, brunette or black to prevent further damage by bleaching agents. Don't try to fill-in the missed areas and instead start fresh with a new color. If you have hair longer than shoulder-length or if it's thick, purchase two boxes.
Step 3
Avoid washing your hair the morning or day you choose to dye your unevenly bleached hair. The night before is acceptable, but you want to dye your hair with a dirty scalp. The natural build-up of oils protects your scalp from damage.
Step 4
Slip on the rubber or plastic gloves provided in the kit. Mix the hair dye according to the package directions. Cover your shoulders with a towel, or slip on an old t-shirt you don't mind ruining. Apply the hair dye along your hairline first.
Step 5
Continue applying the dye to the nape of your neck and your roots. Finish by covering the bulk of your hair with the dye. Leave a small amount of dye in the bottom of the bottle. Examine your hair carefully in a large mirror to ensure every inch is covered with dye. Use a hand mirror to examine the back. Cover any areas your missed with the remaining dye. If any dye is leftover, toss it out immediately.
Step 6
Leave the dye to process on your hair according to the package directions. Rinse out the dye until the water runs clear. Apply the conditioner provided in the kit, concentrating the product on your ends. Allow the conditioner to remain for two minutes.
Step 7
Rinse out the conditioner and towel dry your hair. Style your hair as usual.