


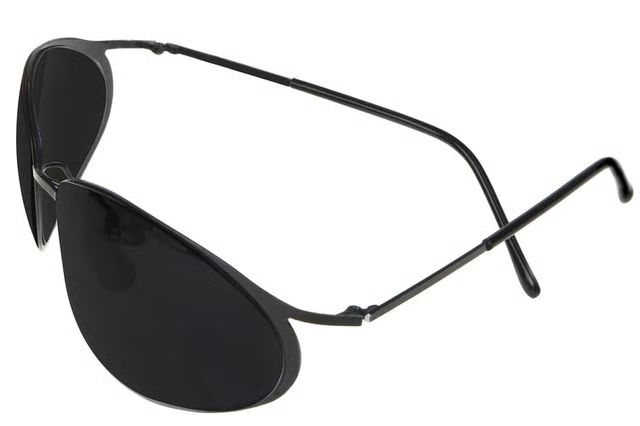
While Ray-Ban sunglasses are expensive, the quality of the glasses make them a good investment for many. The company makes a range of styles, including aviator-style and the classic Wayfarer model. The glasses feature either metal or plastic frames. The company has a repair policy for customers. If you purchased your glasses used or have lost your receipt, however, you may need to repair your Ray-Ban sunglasses yourself.
Replace a lost or missing screw in your Ray-Ban sunglasses with a small piece of wire. Push the earpiece back into place on the sunglasses and gently wiggle a small piece of wire through the screw hole. Pull the wire through the opposite end and push it back through. Push the wire through at least three times and use your pliers to twist together the ends.
Fill a small bowl with warm water and set your sunglasses in it. This is a quick trick for fixing loose frames. The warm water heats up the frames, making it possible to reshape the glasses yourself. Remove the sunglasses after a few minutes and gently bend the frames.
Hold the Ray-Ban sunglasses in one hand to replace a lens that popped out. Turn the sunglasses over, so that the front faces down and place the lens onto the back. Gently press down with your other hand, until the lens pops back into place.
Use an eyeglass repair kit to replace any missing screws. The kits come with several small screws and a tiny screwdriver. Line up the screw to the proper hole and gently screw into place. If the screw won’t go in, it means that your screw hole is stripped and you need to use the wire method.
Seal broken parts with instant glue. For broken frames, apply a thin layer of glue to one side and push the broken piece back into place. Hold until the glue dries. Instant glue also fixes lenses for wireless frames. Apply a layer of glue to the bottom of the top piece and push the lens in place.