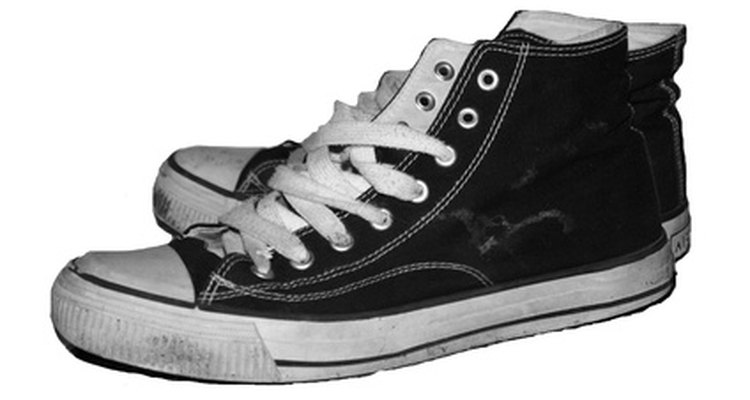
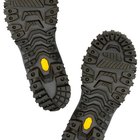
Repairing shoe soles can prolong the life of your favorite pair of shoes, saving you the discomfort of having to break in a new pair of shoes — or the expense of buying new ones. Sole wear is determined by a number of factors: the type of sole (leather wears much more quickly than rubber), type of walking surface, each person’s individual biomechanics, and temperature and humidity, just to name a few. To repair rubber-soled shoes, you can use silicone, crepe, or polyvinyl chloride (PVC), a type of plastic. Manufacturers often use an assortment of materials when creating soles.
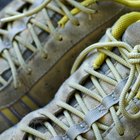
Inspect the sole for any cracks, holes, or delaminated spots. Delamination occurs when parts of the sole become detached from the shoe. Twist the shoe to determine the size of the damaged areas and note of the location of the damage. You may want to mark small damage spots with a piece of masking tape to ensure that you don’t miss any of the damaged areas.
Remove any debris or dirt from in between the cracks or from under any delaminated areas of the sole using a nail file and wipe the damaged areas with a clean towel. You may want to lightly sand the edges of the cracks using the nail file to prepare the sole for adhesion to the silicone.
Put on rubber gloves and pull the edges of the damaged areas apart and squeeze the silicone tube carefully, applying small beads along the edges of the damaged areas. The silicone dries very quickly, so be careful not to apply too much.
Press the damaged edges together and wipe up the excess silicone with a paper towel. Turn the shoe upside down and let dry for three to four hours. You can also apply a clamp to exert more pressure on the repaired area. For delaminated spots on the sole, you may want to place a heavy object on top of the shoe when letting the silicone dry.
Related Articles
How to Glue a Heel Strap

How to Keep My Shoes From Sliding While ...
How to Increase the Grip on a Shoe's ...
How to Fix Nicks in Shoe Toes
How to Remove the Sole of a Sneaker
How to Fix Ripped Rubber Boots

How to Fix a Nike Cortez If the Sole Is ...
How to Repair a Split Sole on Shoes
Fixing a Boot's Heel
How to Repair Leather Soles
How to Repair Foam Rubber Shoes

How to Glue a Leather Shoe Strap
How to Make Leather Boots
How to Fix Sneaker Soles

Kinds of Glue to Repair Running Shoes

How to Get Scuffs Off Vinyl Shoes
The Best Way to Stretch Patent Leather ...
How to Fix Crepe Soles
How to Change the Soles on a Shoe From ...
How to Repair a Split Rubber Sole
Resources
Writer Bio
Based in Minneapolis, MN, Tammy Domeier began her writing career in 1998, writing user manuals for the commercial printing and graphics industry. She holds a Bachelor of Science degree in biology from Minnesota State University at Mankato and a paralegal certificate from Minnesota Paralegal Institute.
Photo Credits
shoes image by April K from Fotolia.com