
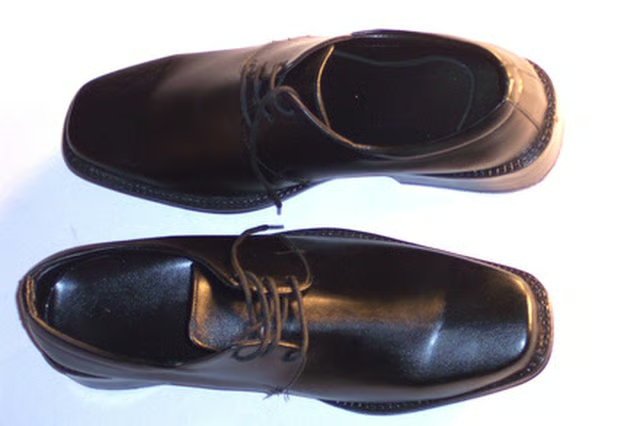

As long as the rubber sole is removable, any rubber sole on a shoe shoe can be converted to a leather bottom with just a few easy steps, and some basic supplies which are easily available in any craft or leather store. This takes very little time, and is not difficult to accomplish for the average person.

To remove the old sole, insert a sharp craft knife between the shoe's rubber sole and the bottom of shoe itself. If the sole is also stitched on, cut the threads, moving around the perimeter of the shoe, making sure not to damage the side material.
Pry the sole from shoe carefully with a small chisel or metal spatula, working with a small area at a time. Use rubber cement thinner or mineral spirits if cement is present and cannot be removed by prying the sole apart from the rest of the shoe. In this case, take a small paint brush and work in solvent a bit at a time, as small areas are separated. Gently remove sole from shoe body.
Place the sheet of leather with the right side down. Carefully trace around each shoe with a pencil. Cut out the leather soles with a sharp craft knife or very sharp, strong scissors meant for leather work. Be sure to cut exactly on line drawn.

Coat the back side of each sole with rubber cement, using a 1-inch brush. Make sure all of the area is covered. The cement should remain thick enough to adhere, but there should not be so much that it overflows the edges of the shoe. If this occurs, wipe away the excess.
Place the new soles cement side up on hard surface. Place each shoe exactly on top, so that edges of shoe meet edges of sole. Press down firmly and hold for a minute. With a dry cloth, wipe away any small bits of cement that might have come out from between the two surfaces. Place 1-inch clamps every couple of inches around the bottom of the shoes, holding the shoe and sole together. Allow the rubber cement to harden overnight, and remove the clamps.