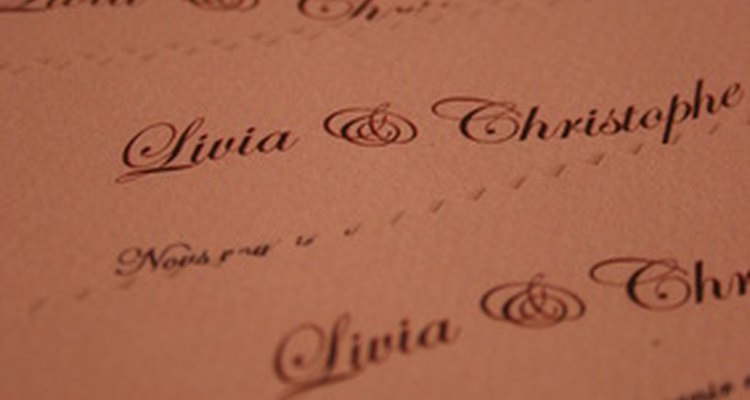
Wedding enclosure cards are a critical item of stationary typically sent within wedding invitations. Enclosure cards can be used for a variety of purposes. Popular functions of a wedding enclosure card include directions and accommodation information, meal choices, response cards and registry information. Because you might need to provide multiple enclosure cards in each envelope, it can be economical to produce the cards at home on your own printer.
Printed Cards
Open a new Microsoft Office Word document. In the top toolbar, select New. In the panel that opens on the right, under Templates, click on Templates on Office Online.
Type “wedding response cards” or “wedding reply cards” in the web browser that opens and click "Search." Select and download a design from the page that opens.
Edit the default information in the response cards once they have downloaded into your Microsoft Word document by deleting the type that is there and including your own.
Insert your response card stationary into your printer as instructed on the stationary packaging.
Print as many copies of the response cards as needed.
Handmade Cards
Choose stationary pieces for the cards. This could include more than one piece of stationary to layer the enclosure cards for a decorative touch.
Type the text for the enclosure cards in a Microsoft Office Word document and print as many duplications of the text as you need for the invitations.
Cut out the text from the paper and mount it onto a colorful piece of stationary, slightly larger than the piece of the text paper, with glue. The border of the colorful paper can be seen around the edges of the paper text.
Cut out another piece of paper, a different color from the text backing paper, that is slightly larger than the piece of backing paper. Choose a coordinating color for the paper, such as a darker shade of the backing piece of stationary or a simple and elegant white. Mount the text paper with the backing onto the second piece of backing paper with glue. The edge of the second backing paper should be visible around the border of the first piece.
Add decorative elements to the enclosure card with glue. For example, a ribbon or bow would be an elegant addition to an enclosure card. A button and a twirled piece of thread would add a decorative, rustic feel to the cards.
Related Articles
The Standard Size for Wedding ...

How to Send a Free Greeting Card to a ...

How to Bake Messages Into Cupcakes

How to Make Professional-Looking ...

DIY Seal 'N Send Invitations

Effective Face-to-Face Communication

Birthday Guest Book Ideas
The History of Thank You Notes

Invitations to Make & Print at Home for ...

How to Make Your Own 12 Month Calendar

How Do I RSVP on TheKnot.Com?

How to Invite Friends for a Casual Lunch

How to Send a Free Birthday Greeting

How to Make a Wedding Program on ...
How to Send a Valentine's Text

How to Write a Letter to Someone Who Is ...

How to Obtain a Duplicate Birth ...

How to Make Babysitting Business Cards

How to Apologize to Someone Who Hates ...

Gifts to Remember a Lost Loved One
References
Writer Bio
Michelle Barry graduated from Salve Regina University with a Bachelor of Arts in English. Since then, she has worked as a reporter for the Wilbraham-Hampden Times, an editor for Month9Books and Evolved Publishing, editor and has spent the past seven years in marketing and graphic design. She also has an extensive background in dance.
Photo Credits
invitation mariage image by Christophe Thélisson from Fotolia.com