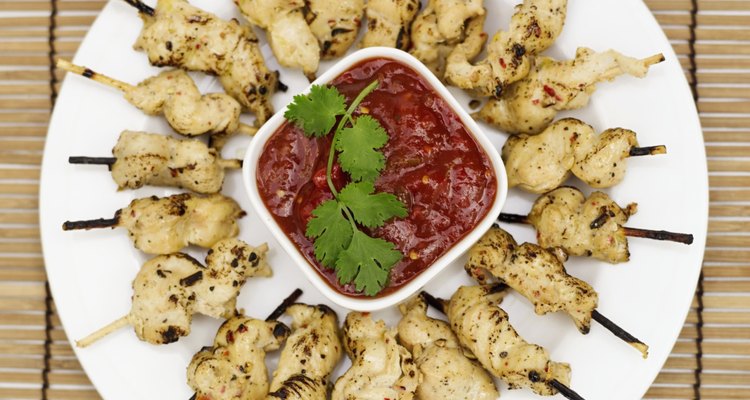
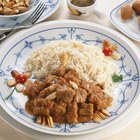
Chicken kebabs are a no-brainer for grilling season, but you can still enjoy them when the temperature drops. Use your broiler to get perfectly cooked chicken kebabs every time. It takes only a few minutes, so have side dishes ready to go before you begin cooking the kebabs. If you're using wooden skewers, soak them in water for at least 30 minutes prior to cooking to prevent them from burning.
Step 1
Place the broiler rack about 4 inches from the top and preheat your broiler. If your broiler uses clips instead of racks, arrange them so that the broiler pan is 4 inches away from the heating element.
Step 2
Arrange the chicken kabobs on a baking sheet. Line the sheet with aluminum foil first for easy clean up if desired.
Step 3
Broil the kebabs, turning occasionally, until they are cooked through -- about 8 to 10 minutes. Check for doneness by inserting a thermometer into the thickest part of the largest piece of chicken. The chicken is ready when the internal temperature reaches 165 degrees Fahrenheit, according to the U.S. Department of Agriculture. When you slice into one piece with a small knife, the center should be white.
Related Articles
How to Make Toasted Bread Sticks With ...
What Can I Substitute for Poppy Seeds ...
How to Cook Sauteed Chicken With White ...
How to Freeze Empanadas
How to Make Whipping Cream With Milk

How to Respond to a Compliment From a ...

How to Boil Conch in the Shell

How to Legally Change Your Name When ...
How to Substitute Wheat Germ for Flour

How to Cook Pancetta
How to Cook Chicken Bratwurst
Can I Cook Chicken That's Been Thawed ...
How to Cook Chicken Wings by Boiling ...
How to Cook a Cornish Game Hen in a ...
How to Broil Chicken on the Bone
How to Blanch Tomatillos
How to Slow Cook Brown Rice & Chicken
How to Cook Trevally
How to Make Crock-pot Chicken

How Long Do You Need to Boil Large ...
References
Resources
Tips
- Broiling works well with plain or marinated chicken. Add Indian flavor by marinating the meat in curry paste, ginger and olive oil, or keep the flavors fresh with lemon juice, marjoram and garlic. Alternate vegetables between the chicken chunks -- bell peppers, mushrooms and onions work well under the broiler.
Writer Bio
Irena Eaves began writing professionally in 2005. She has been published on several websites including RedPlum, CollegeDegreeReport.com and AutoInsuranceTips.com. Eaves holds a Bachelor of Science in journalism from Boston University.
Photo Credits
Stockbyte/Stockbyte/Getty Images