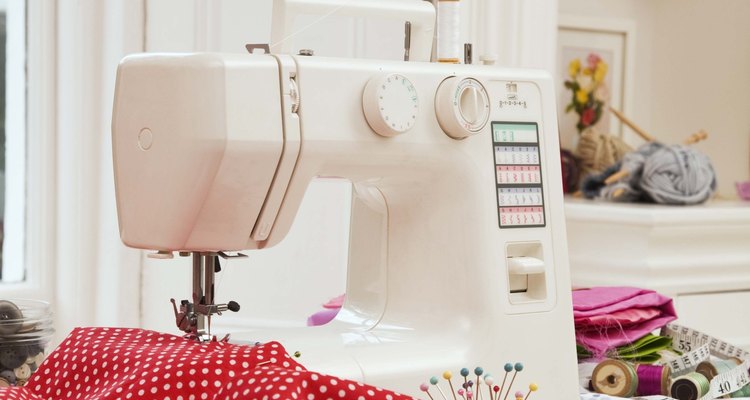
Drape-front or cowl neck shirts are very fashionable and can be worn for various occasions. A cowl neck top can be created from an old, oversize t-shirt or from scratch using knit fabric. Depending on your personal preference, a drape-front top can have short sleeves, long sleeves or no sleeves. When creating this top from an old T-shirt, you are more limited in your sleeve options. But when creating it from scratch, you can choose any sleeve type you like.
From Scratch
Pick out a shirt from your wardrobe that fits you well and has the same sleeve as the drape-front shirt you want to create.
Fold the shirt in half, and trace the outline on your pattern paper. Flip the shirt over, and trace the shirt in the opposite direction to create a symmetrical pattern. Add a one-half-inch seam allowance around the entire pattern. Follow the same steps to create a pattern for the sleeve, or leave off the sleeve if you are creating a tank top.
Cut out your patterns, and label each piece.
Use a red pen or marker to draw on the front pattern piece where you want the cowl neck to go. Start from the point at the middle of the shoulder, slope it down about 4 or 5 inches from the collar and then slope back up. Try to make the slope as even as possible.
Trace the patterns onto your chosen shirt fabric, and cut them out.
Use a tape measure to measure the neckline of the front and back patterns. Then multiply the measurement by 2, to determine the amount of fabric needed for the cowl neck.
Use this measurement to create a rectangle out of the knit fabric. The neckline measurement will be the length and the width will depend on your personal preferences. However, the width should be about 5 or 6 inches wide. Cut out the rectangle of fabric.
Trace and cut the sleeve for the shirt from the knit fabric.
Sew the shoulder seams of the front and back pieces of the top. Put the sleeves in the arm holes, and sew the sleeves and side seams. Repeat with the other side of the shirt.
Lay the cowl rectangle down, and sew the two short sides together. This will create a circle out of the fabric.
Fold the cowl in half lengthwise, and pin it around the neckline. The seam should be on the back of the neckline. Sew the cowl neck in place.
Finish the hem on the bottom of the shirt, by doing a zigzag or other finishing effect.
From an Old T-Shirt
Lay the oversize T-shirt down on a clean flat surface, right-side down.
Fold the top of the T-shirt down twice, until the bottom of the fold is lined up with the bottom of the sleeve.
Place one pin vertically in each sleeve to keep the fold in place.
Use the fabric chalk to draw a vertical line in the middle of the shirt -- starting from the bottom hem and going up about one-third of the way up the shirt. Then use the fabric chalk to draw three lines horizontally across the back of the shirt. The first line should start at the top of the vertical line, and evenly space the other two lines in the remaining available space below.
Cut along all of the chalk lines to create six strips of fabric that are attached to the sides of the shirt. Use your hands to stretch out each strip until the edges curl slightly.
Fold the two sleeves -- with the folded fabric pinned in place -- toward each other, so that they meet in the middle of the shirt. Use a sewing machine to sew the two sleeves together, make sure that the “wrong” side of the sewing seam is facing down.
Place the just-sewn seam over your model’s head with the “wrong” side of the seam on the model’s neck. Arrange the front of the shirt to create the desired cowl look.
Tie the six strips in the back of the shirt into three knots, using the sets of corresponding strips.
Related Articles

How to Cut a T-Shirt Into a Tank Top ...

How to Make a French Cuff

Turning a Shirt Into a Tank Top for Men

How to Cut Up a Shirt for the Gym

How to Sew a Western Shirt Pattern
How to Use a Sewing Machine to Make a ...

How to Fold a Dress Shirt to Avoid ...

How to Put a Wedge of Fabric in the Leg ...

How to Cut a T-Shirt into a Punk Rock ...

How to Make Your Own Singlets
How to Monogram Shirt Cuffs

How to Sew a Dart Into Jeans

How to Tailor a Button-Down Shirt for a ...

How to Make Tank Tops Out of T-Shirts

How to Make a Poncho From a Blanket
How to Sew a Nightgown

How to Make Bed Jackets
How to Make Fleece Gloves

How to Make a Muscle Shirt Out of a ...
How to Make Tear Away Pants
References
Writer Bio
Gloria Sherman has been writing professionally since 1985. She writes for a real-estate network, providing insight and tips to realtors across the United States. Originally from Baltimore, Sherman earned her Bachelor of Arts from the University of Maryland.
Photo Credits
Jupiterimages/Polka Dot/Getty Images