


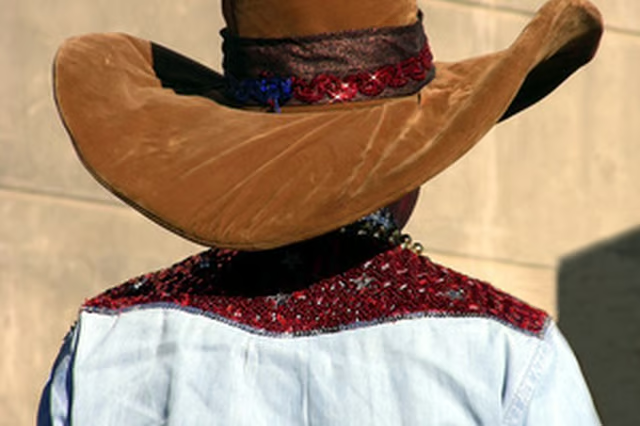
Western shirts look most authentic when made with lightweight cotton or cotton-blend fabric in stripes or prints. For a retro look, use pearlized snaps and brightly colored piping as accents. If you’re looking for hip instead of home on the range, keep buttons neutral and trim to a minimum—a tiny strip of lace along the cuffs or chest pocket will do. You don’t need a sewing machine to make a western-style shirt, but it will speed up the process considerably.
Cutting & Pinning
Take your chest and waist measurement with a tape measure. Consult the back of your pattern to see what size your measurements fall into, and how much fabric is required for that size.
Pre-wash your fabric, even if the bolt says it’s pre-shrunk.
Unfold your pattern and find the cut lines marked with your size. Cut out each piece.
Read the instructions that come with your pattern. They’ll contain a diagram that shows you the most efficient way to lay out your fabric and each pattern piece. Follow those instructions and pin each pattern piece to your fabric using straight sewing pins.
Cut the pieces out, leaving the paper pattern pinned on; this makes it easier to tell which piece is which. Pattern pieces are usually labeled with letters (A, B, C, etc.) for easy identification.
Sewing
Read ahead in your pattern’s instructions. Pattern pieces need to be sewn together in a particular order. Lay out your pieces in the order you’ll need to put them together.
Pin the first two pieces together with straight pins. Make sure you let them overlap by the indicated seam allowance; in most cases, this is five-eighths of an inch.
Turn the fabric over so that you’re looking at the back (wrong) side of the fabric. Working on this side, sew the two pieces together.
Iron the two pieces once you have the together. Make sure you press the seam allowance flat against the wrong side of the fabric.
Continue sewing all the pattern pieces together, as directed by the pattern’s instructions.
Finishing Touches
Place your snaps equidistant from each other up and down the shirt placket. Martha Stewart recommends holding your fasteners (buttons, snaps, etc.) in place with a piece of tape while you make the first stitch or two, then peel away the tape and finish sewing them down.
Decide whether you want to add pockets; you can create your own even if your pattern doesn't include them. Cut the pocket shape you want out of the remaining fabric and hem each side. Stitch the pocket down in the desired location.
Add piping, ribbon, fringe, lace or sequins where desired. Try trimming the cuffs or outlining the front and back shirt yoke.