Hemera Technologies/PhotoObjects.net/Getty Images
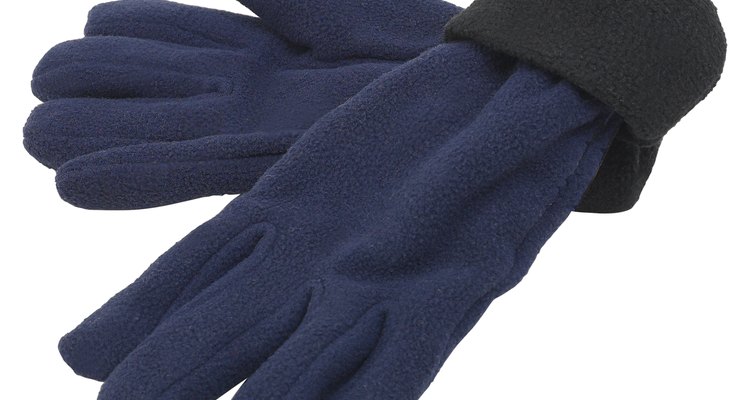
fleece fabric is so warm and soft it's been used to make pajamas, socks, shirts and even sheets. A pair of fleece gloves will keep your hands warm while you're shoveling snow, walking the dog or skating around the ice rink, while allowing more dexterity than mittens. Choose fleece in a variety of prints, or choose a solid color. You can find free patterns at several sites on the Internet or make your own by tracing your hand and adding strips of fabric for the gussets between fingers.
Print out a glove pattern on plain paper. Measure and mark a 1/8-inch seam allowance all the way around the pattern, including around each finger and the gusset pieces. Cut out the pattern along the seam allowance lines.
Pin the pattern pieces to the right side of a single layer of fleece. Cut out. Flip the pattern pieces over and pin to the right side of a second piece of fleece. Cut out.
Fold the glove piece right sides together along the center fold. Sew the gusset pieces to the fingers, following the illustrations on your pattern. Always sew with right sides together, using a 1/8-inch seam allowance.
Sew the side seam from the wrist to the top of the middle finger.
Sew the thumb piece. Attach the thumb to the glove.
Turn the glove right side out. Repeat these steps for the second glove.
Related Articles
How to Make Leather & Chain Lingerie
How to Make Bed Jackets
How to Make a Fabric Poncho
How to Make a Men's Waistcoat
How to Make a Women's Fleece Wrap

How to Make Mens Moccasin Boots
How to Make a Leprechaun From ...

How to Shrink Flannels
How to Make a Capote Coat

How to Sew Your Own Tubular Bandana
Brooch Vs. Pin

How to Narrow Wide Pants
How to Make a Jacket From a Sweatshirt
How to Make Leeloo Suspenders

How to Make a Child's Graduation Gown
How to Make a Wool Coat

How to Make Tank Tops Out of T-Shirts

How to Make Toasted Bread Sticks With ...
How to Make a Paper Bouquet Holder

How to Make a Kid's Indian Costume From ...
References
Writer Bio
Cynthia Myers is the author of numerous novels and her nonfiction work has appeared in publications ranging from "Historic Traveler" to "Texas Highways" to "Medical Practice Management." She has a degree in economics from Sam Houston State University.
Photo Credits
Hemera Technologies/PhotoObjects.net/Getty Images