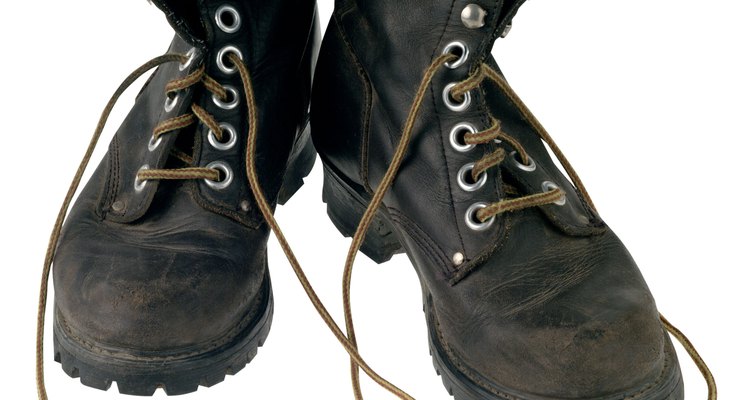
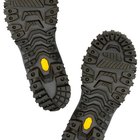
Even high-quality work boots may develop cracks in the sole. Though most cracks are not immediately detrimental to the overall quality of the shoe, they can become hazardous quickly if left untreated. Before you consider resoling the boots, attempt to remedy the problem with adhesive. A strong epoxy can fix a crack in a sole and last for months or even longer. Using this at-home treatment is more convenient and less expensive than professional repair or replacement, and it will likely solve the problem entirely.
Clean the sole of the boot before you begin working. Look in the cracks to make sure that pebbles, sand or dirt are not present. Flush debris out with water or gentle prodding with a toothpick, if necessary.
Insert the applicator tip of the barge cement gently into the crack. Only place the tip deep enough in the crack to ensure that the product will not squeeze anywhere else on the sole.
Squeeze the tube to fill the crack with adhesive. Remove the tube when the epoxy is as high as the tip of the tube applicator.
Press the sole straight by applying force from both ends of the boot. This pushes the crack together and forces out any excess adhesive.
Squeeze more barge cement into the crack if no epoxy squeezed back out when you straightened the sole. Scrape any excess adhesive that did squeeze out with the putty knife.
Repeat the process to fill each crack in the sole. Leave the boot on its side for 30 minutes to let any adhesive at the surface level of the sole air-dry.
Turn the boot right side up on an unfinished surface like a garage floor. Place small, weighted objects in the shoe to flatten the sole, as if you were wearing the boot. Let the epoxy set thoroughly for 48 hours.
Related Articles
How to Fix a Crack in My Hunter Wellies
How to Repair a Split Sole on Shoes

How to Cook a Lemon Sole Fillet
How to Fix Ripped Rubber Boots
How to Repair Cracks in Leather Boots
How to Repair and Remove the Steel Toe ...
How to Fix Crepe Soles
How to Fix Cracked Rubber Boots
How to Seal Winter Boot Seams

How to Clean Airwalk Ugg-Style Boots
How to Repair Cracks in Leather Shoes & ...
How to Treat Doc Martens With Mink Oil

How to Fix Sneaker Soles
How to Repair Foam Rubber Shoes

How to Keep My Shoes From Sliding While ...

How to Glue a Leather Shoe Strap
How to Repair a Split Rubber Sole
How to Take Care of Rubber Boots
How to Fix Patent Leather Shoes

How to Fix Nicks in Shoe Toes
References
Writer Bio
Grace Riley has been a writer and photographer since 2005, with work appearing in magazines and newspapers such as the "Arkansas Democrat-Gazette." She has also worked as a school teacher and in public relations and polling analysis for political campaigns. Riley holds Bachelor of Arts degrees in American studies, political science and history, all from the University of Arkansas.
Photo Credits
Brand X Pictures/Brand X Pictures/Getty Images