


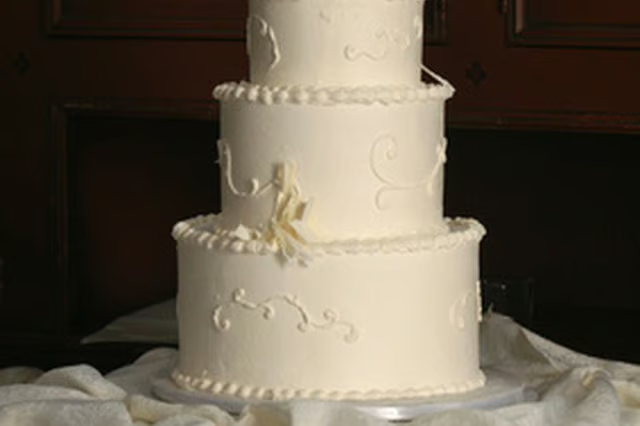
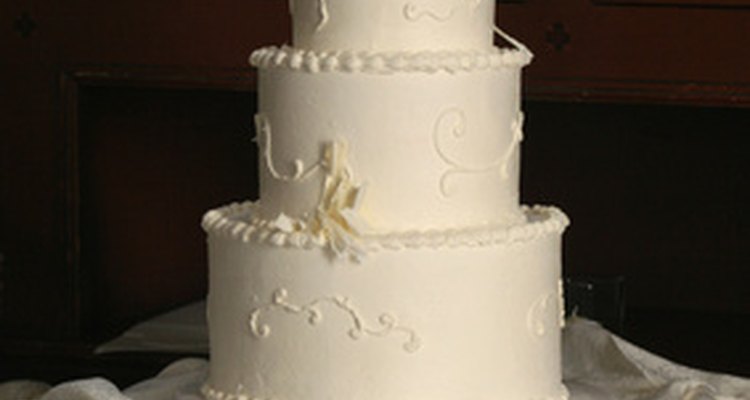
A fake cake acts as an inedible centerpiece for gatherings. On the outside it looks like a real cake, but if you cut into it, you see the Styrofoam core. To create the same look as a real decorated cake, you follow the same procedure you would use for a real cake. An important ingredient for smoothly covering the cake, fondant, can be found in craft and baking stores or is made from scratch. This product molds like clay but is made of powdered sugar. Using fondant creates a smooth coating for the exterior of the fake cake, just like a real, professionally decorated cake.
Set the Styrofoam on a cake board. Dampen a paper towel and run it over the entire surface of the Styrofoam cake to moisten the cake's surface and allow for adherence of the fondant.
Color the fondant by kneading ½ to 1 tsp. of cake coloring into it until the color is distributed evenly throughout.
Lightly dust a working surface with powdered sugar. Use the rolling pin to flatten the fondant into a 1/16-inch-thick circle measuring 12 inches across.
Gently drape the fondant over the Styrofoam cake to completely cover it, pressing the fondant against the sides and top to smooth out any wrinkles.
Trim, with a paring knife, any excess fondant extending from the bottom of the cake.
Fill a pastry bag with 1 cup of cake icing and attach a star decorating tip. Hold the tip of the pastry bag at a 90-degree angle to the bottom edge of the cake.
Make a border of stars for your cake's edges. Press the sides of the pastry bag with the tip touching the fondant until a small dollop of icing in a star shape emerges. Release pressure on the bag and lift the tip away from the cake, leaving behind a single star. Repeat the process to make stars in a line along the bottom or top edge of the cake.
Change the tip to a writing tip to write words on the top of the cake, such as “Happy Birthday!” or “Congratulations!”
Add extra cake decorations such as candied or real flowers, if desired, by carefully arranging them on the top of the cake or scattering them across the top and sides for a more casual look.