


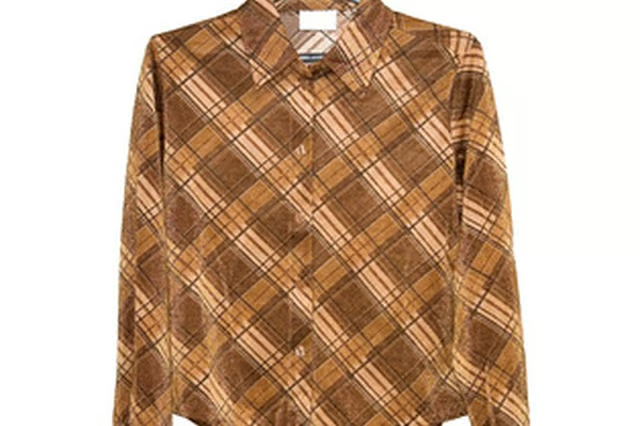
Often, worn-out articles of clothing are really only worn-out in the most stressed fabric areas. A good-quality garment may become worn or permanently dingy around areas that are close to the skin, such as the neck edge or areas that come into contact with other surfaces, such as the sleeve hems. A well worn dress shirt, for example, is likely to look its worst at the collar and cuffs. Rather than purchasing a brand new shirt, you can spruce up an old favorite by replacing the cuffs and collar.
Take the men's dress shirt and turn it inside out. Locate the stitching between the cuffs and sleeve ends, and remove it with the seam ripper. Do the same to the collar.
Unfold the cuffs and collar, and locate the stitching that attaches them to the body of the shirt. Remove it with the seam ripper. Be careful not to damage the fabric.
Turn the cuffs and collar inside out. Take apart the side seams. You should have twoseparate cuff pieces and two separate collar pieces. Mark on the fabric which edges attach to the garment.
Measure the seam allowances and fold placements on the cuffs and collar. Write these down on a sheet of paper for later reference.
Lay the cuffs and collar out on top of an ironing board. Iron all pieces completely flat.
Lay out a single layer of your new dress shirt fabric, which can match the original shirt fabric or provide a contrasting color and pattern. Pin the collar and cuff pieces to the fabric.
Cut around the cuff and collar pieces, so that you have four new pieces. Unpin the old cuff and collar pieces.
Fold under one of the bottom edges of the collar pieces, using the fold measurement you took in Step 4. Iron the fold flat.
Place the new collar pieces together, right sides touching. Pin the top and side edges together.
Sew the top and side edges together, using the seam allowance you measured in Step 4. Turn the collar right side out.
Take your dress shirt. Pin the unfolded bottom edge of the collar to the neck of the shirt, right sides together. Sew the edges together, using the seam allowance from Step 4.
Pull the folded bottom edge of the collar over the seam allowances and pin it to the stitching line. Slipstitch the folded edge to the shirt. Iron the collar flat.
Take the cuff pieces. Pin the side seam of each cuff piece together and sew the side seams, using the seam allowance measurement you recorded earlier. Iron the seam allowances open.
Fold the cuff pieces in half, wrong sides together. Fold under one edge on each cuff, using the fold measurement you recorded earlier. Iron the folds flat.
Pin the unfolded edges of the cuffs to the sleeve ends of the dress shirt, right sides together. Sew the cuffs to the sleeve ends, using the seam allowance measurement you recorded earlier.
Pull the folded edges of the cuffs over the seam allowances and pin them to the stitching line. Slipstitch the folded edges to the sleeves. Iron the cuffs.