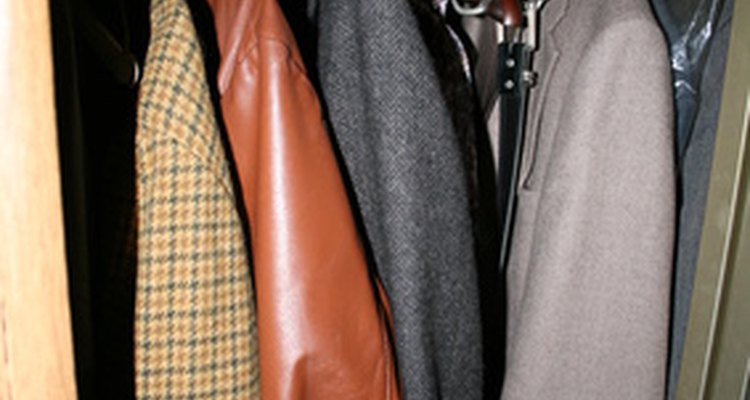
Leather garments are amazingly enduring. They manage to survive assaults from the weather, years of use, and look good for a long time; however, the lining of the jacket or coat is another story. Usually made of synthetic fabric, linings wear out and are damaged much more frequently than the outer shell of leather. Because leather coats are expensive and because they are loved by their owners, a merely torn or worn lining should not mean the life of the jacket is over.
Repairing the lining of a leather jacket
Turn the jacket, including the sleeves, inside out to get a better look at the damage. Different kinds of wear and tear require different solutions; however, one rule covers all extreme cases. If the jacket lining is shredded, worn thin and fragile, it needs to be completely replaced. Only a professional should be trusted to do this. Lining replacement is much more complex than mending the lining and will require stitching through the leather.
Examine the lower hem and sleeve hems of the lining. Is the lining sagging below the jacket and visible from the outside? Remove any excess threads remaining in the lining hem.
Thread a sewing needle with thread to match the lining. Fold the edge of the lining upward so that its length is the same as the rest of the lining that is still attached properly. Pin the fold into the fabric only, positioning the pins horizontally.
Resew the hem. Use small stitches and try to catch only the lining. If the hem was attached to the jacket, try to stitch it through the jacket hem, catching only the turned-under portion and keeping the needle from penetrating the outer shell.
Examine the lining's seams. Seams are occasionally pulled apart while the jacket is being worn. Remove any loose threads from an open seam and be certain that the stitching above and below the opening are firmly sewn. If not, remove loose stitches and make the opening larger.
Pin the edges of the seam together, keeping the raw edge of the lining fabric turned under as it was in the original construction. Place the pins every inch or so, keeping them parallel to the edges of the seam.
Use the needle and matching thread to neatly sew the edges of the seam together with small stitches. Take care not to catch the jacket or its seams in the stitching.
Find any holes or tears in the fabric of the lining. These will have to be patched with a fabric similar to the original lining in both weight and color. Trim around the damaged area, removing loose threads.
Measure the damaged area, add at least 1 inch for overlap and another 1/2 inch for turning under. Cut a rectangular or square patch from the matching fabric and press under a 1/2 inch hem on all four sides. Pin, then stitch the patch to the lining using small stitches and not penetrating the leather. Because the patch is always inside the jacket, no one will know it is there even if it is not a perfect match.
Check by feeling inside both pockets to be sure they are intact. If not, turn the pocket lining outside and stitch the seam by hand. Pockets linings may also be patched but try not to sew through the pocket lining to the other side. Because such a repair is difficult to sew, consider relining the pocket.
Cut a new pocket lining the same size as the old one plus 1/2 inch seam allowance. Sew it up on three sides. Press under a 1/2 inch hem around the unsewn edge.
Slip the new lining over the old one. Sew the new lining to the very top of the old pocket lining using small stitches and carefully avoiding the leather. Make the stitches very secure so the pocket will hold some weight. Leave the old pocket lining intact.
Related Articles

How to Remove Patches From Leather ...

How to Repair a Ripped Back Pocket on ...

How to Make an Alteration to a Lined ...

How to Patch Small Holes in Polar Fleece

How to Fix Cuts in Polyester Clothes

How to Remove the Mesh From Fitted Caps

How to Turn a Fur Coat Into a Fur Jacket

How to Lengthen Dress Coat Sleeves

How to Adjust the Elastic in a Jacket

How to Keep a Fleece-Lined Jacket From ...

How to Fix a Ripped Winter Coat

How to Repair the Cuffs and Waistband ...

How to Fix Ripped Leather Gloves

How to Patch a Waterproof Rain Jacket

How to Fix Missing Teeth on a Zipper

How to Get Cigarette Burns Out of Fleece

How to Fix Burnt Faux Fur

How to Make Faux Leather Jackets Last ...

How to Fix a Burn Hole in Polyester ...

How to Line a Leather Clutch Purse
Writer Bio
Karen W. Waggoner is a retired teacher and lifetime scribbler. She has published short stories, essays in anthologies and periodicals. Waggoner is the author of the memoir, "On My Honor, A Navy Wife’s Vietnam War." She is a graduate of Stetson University, the University of Connecticut and Christian College for Women.
Photo Credits
closet image by pearlguy from Fotolia.com