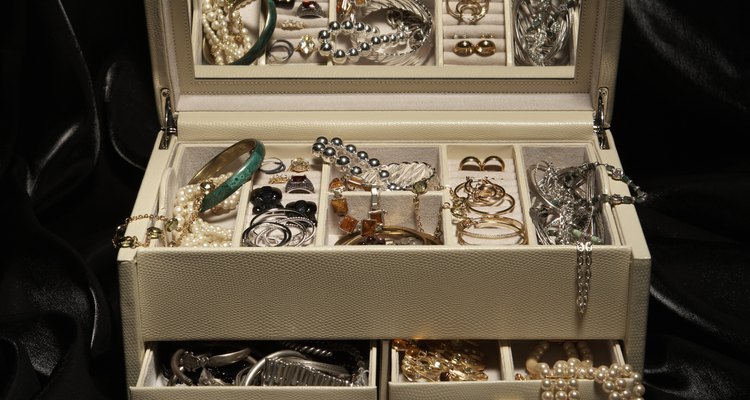
Create jewelry box dividers at home. Designing your own dividers enables you to create specific sections for your jewelry. You can create dividers for bracelets and necklaces or create dividing pads for rings. With cardboard, craft glue and fabric, you can create your jewelry box dividers in an afternoon.
Jewelry Box Bottom and Dividers
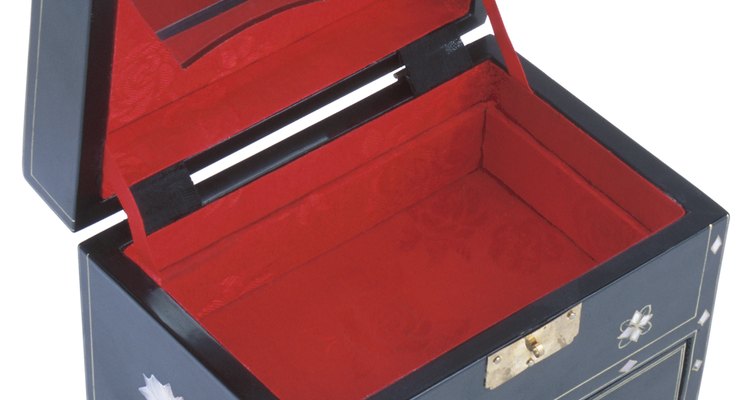
Measure the length and width of the inside of your jewelry box. Cut a piece of cardboard to fit those dimensions. Insert the cardboard into the box to check for a secure fit. Cut a piece of fabric slightly larger than the cardboard.
Apply a bit of craft glue onto the edges of one side of the cardboard. Wrap the fabric around the other side of the cardboard and press its edges against the glue. Smooth out any creases and hold the fabric edges until the glue dries. Insert the fabric-covered piece into the jewelry box, with the uncovered side down.
Measure the area of the box where you want the jewelry dividers. Cut strips of cardboard that fit your design.
Measure the cardboard strips, including both sides. Cut pieces of fabric to cover each strip. Wrap fabric over each strip and glue it along one edge of the strip, beneath the fabric. Hold the fabric in place until the glue dries.
Slide the fabric-covered divider into the jewelry box. Make sure the divider fits end-to-end flush against the jewelry box (or other dividers). Once you are sure of the fit, remove the divider gently and drizzle hot glue onto each end of it. Position the divider in the jewelry box. Hold it until the glue seals it in place, allowing it to stand as a jewelry divider.
Ring Rolls
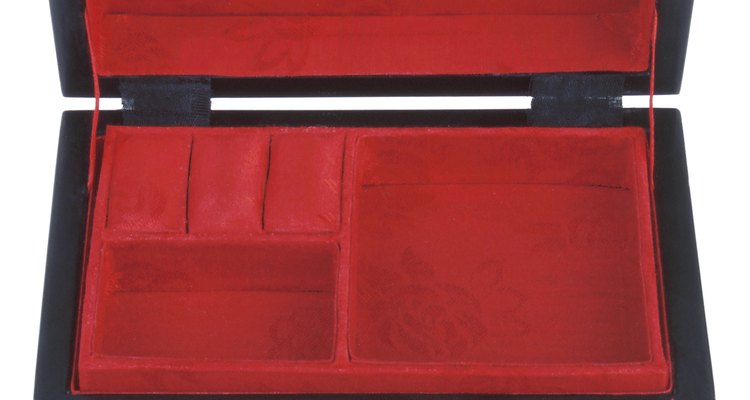
Measure the area within the box you plan to use for rings. Long ring rolls can be cut to sit flush with the jewelry box end-to-end, avoiding the need for ring roll end pieces.
Cut the foam rolls with the craft knife, corresponding to your chosen dimensions.
Wrap the foam rolls in fabric. Use fabric glue or a low-temperature glue gun to affix the edges of the fabric to the underside of each roll.
Measure a piece of cardboard to fit the bottom of the combined rolls. Place glue onto one side of the cardboard and press the ring rolls onto it. The cardboard will present a firm foundation for the ring section. (You can cover the cardboard with fabric before gluing the rolls to it.)
Apply glue onto the jewelry box area where you want the ring rolls. Place the ring rolls, one at a time, on top of the glue and press them down gently. Hold each roll in place for one minute or until the glue has dried. Glue a fabric-covered cardboard end piece to the exposed end of short ring rolls. Long ring rolls require a bit of glue between their ends and the sides of the jewelry box to avoid slippage.
Related Articles

How to Shorten Bracelet Chains
The Best Way to Store Good Chain ...

How to Cook Pancetta

Can I Make Doughnuts From Frozen Yeast ...

How to Delay the Baking of Homemade ...

Can I Make Monkey Bread the Night ...
How to Make a Mesh Chain and Charm Belt
How to Cook a Toupie Ham With Pineapple

How to Extend a Toggle Clasp Bracelet

How to Use a Ring Mandrel
How to Make Desserts With Filo Dough

How to Make Easy Cinnamon Rolls in 20 ...

Cooking Instructions for a Ridge Creek ...
Easy Cinnamon Roll Recipe

How to Resize Silicone Bracelets
How to Put in a Curved Nose Ring
How to Bake Bread in a Pyrex Glass Tube

How to Take Out a Lip Ring Stud

How to Cook Tender Rolled Flank Steaks ...

How to Preserve Homemade Pizza Dough
References
Writer Bio
As a former elementary school teacher, Cheryl Starr now writes full-time from Missouri. Her work has appeared in various magazines, including "Teachers of Vision," "Insight" and "Highlights." She is currently writing a novel and a devotional book. Starr studied elementary education at the University of Arkansas at Little Rock.
Photo Credits
Thomas Northcut/Photodisc/Getty Images