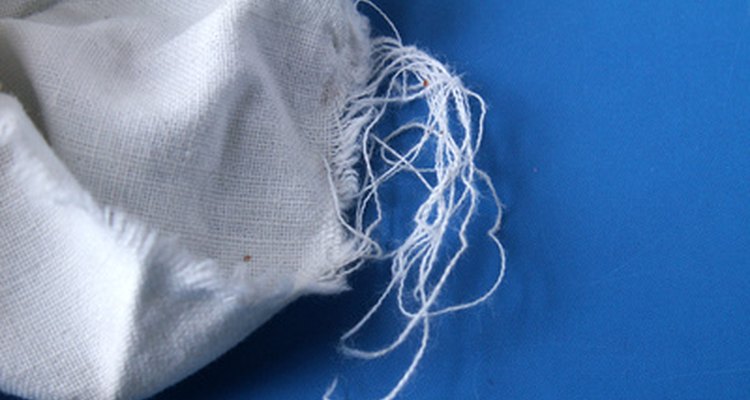
rag image by Henryk Olszewski from Fotolia.com
Sewing dew rags is fairly simple and, when you make your own pattern, it's easy to custom fit dew rags to your head. You can also make a variety of sizes to sell at craft fairs and motorcyle events. Vary the look by using one fabric design for the cap section and a second design for the tie. After you've made your paper pattern, this project will take only 15 to 20 minutes to complete.
Shaped Dew Rag Pattern
Measure from the center of your forehead around one side of your head to the nape of your neck. Add 1 inch.
Lay a cloth tape measure on a piece of paper and draw a line that's as long as the measurement from Step 1.
Measure from the center of your forehead across the top of your head to the nape of your neck. Add 1 inch.
Lay the end of the tape measure on one end of the straight line you drew in Step 2. Arrange the tape measure in a half-circle, using the measurement from Step 3, and ending on the other end of the straight line.
Draw around the tape measure to complete the pattern.
Sewing a Shaped Dew Rag
Fold your fabric in half with right sides together.
Place the pattern on top of the fabric. Pin it in place or weight it with a heavy object.
Cut around the pattern. This is the cap section. Cut another piece of the same fabric measuring 3 1/2 inches wide. For the length, double the measurement from Step 1 of the previous section and add 8 inches. This is the tie section
With right sides together, sew the two pieces of the cap section together along the curved edge, using a 1/2-inch seam allowance. Turn the cap section right-side out.
Fold the tie section in half widthwise to find its center. With right sides together and raw edges even, pin the center of the tie section to the center of the cap section. Continue pinning all the way around the cap, leaving 1 inch open on each side of the second seam.
Sew the tie section to the cap section using a 1/2-inch seam allowance.
Press under 1/4 inch along all the raw edges of the tie section, then press the tie section in half lengthwise.
Turn the cap inside out. Fold the pressed-under edge of the tie section over the seam.
Sew the pressed-under edge of the tie to the inside of the cap section. Continue sewing the pressed-under edges together along both free ends of the tie section.
Related Articles

How to Make Renaissance Hats

How to Make a Fabric Poncho

How to Hem a Sequin Dress

How to Make a Men's Baseball Cap

How to Make a Toga Costume for a Kids' ...

Cooking Instructions for a Ridge Creek ...
How to Make a Baton

How to Cut Up a Shirt for the Gym

How to Measure a Necktie

How to Stop Sweat from Staining Golf ...

How to Spray on Tie-Dye

How to Wear a Tie With a T-Shirt

How to Make a Simple Lace Up Corset

How to Make a Bottom-Tie Tank Top

How to Make a Bridal Cape for a Wedding ...
How to Make Fleece Gloves

How to Measure and Cut a Wedding Veil

How to Do a Sew-In Hair Weave on a ...

How to Make Japanese School Uniforms

How to Keep Ends of Braids Closed
References
Writer Bio
Margaret Morris has a Bachelor of Arts in English with a concentration in creative writing from the University of Pittsburgh. She also holds a celebrant certificate from the Celebrant Foundation and Institute. Morris writes for various websites and private clients.
Photo Credits
rag image by Henryk Olszewski from Fotolia.com