Sending photos through the mail is a convenient, personal way of giving someone a quality photograph, and is often preferable to sending digital files the recipient has to print herself. The challenge comes in ensuring that the photos arrive undamaged, despite the dangers of bending, wrinkling, moisture and excessive heat. Safe shipping of photos requires careful packaging. The post office offers photo mailers made of chipboard, a lightweight cardboard. You can also make sturdy photo mailers at home out of common materials.
Mail Photos in Photo Mailers
Step 1
Measure the largest photo and make a note of its size.
Step 2
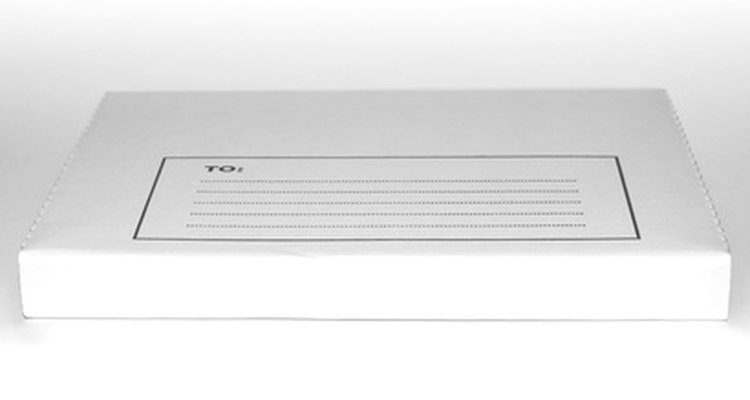
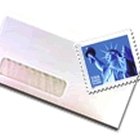
Buy a photo mailer that's large enough for the photos. Post offices, the USPS website, stationery and variety stores all offer photo mailers.
Step 3
Center the photos on a plain white piece of paper and fold the paper over them. For larger photos, place a second sheet of paper over the printed side of the top photo.
Step 4
Create a computer printout or handwritten sheet with the recipient's address and your return address. This insert is known as an "inside address."
Step 5
Tape the inside address to the paper containing the photos, so they will still be deliverable if the package gets damaged and the outside address becomes illegible.
Step 6
Address the photo mailer in neat printing. Place the photos in the mailer.
Step 7
Take the photo mailer to the post office and have a clerk weigh it, or use a postal scale. Be sure to buy sufficient postage for the photos to reach the recipient.
Create Photo Protectors
Step 1
Use a ruler to draw a square or rectangle on a sheet of stiff cardboard, measuring 1/4-inch larger than the largest photo. For example, if you're sending 5 x 7 photos, draw a rectangle measuring 5-1/4 x 7-1/4 inches on the cardboard.
Step 2
Cut out the rectangle. Place it on another sheet of cardboard and trace around it to draw a matching rectangle. Cut out the second rectangle.
Step 3
Center the photos between the cardboard rectangles. Tape the rectangles with a strip of tape on each edge.
Step 4
Create an inside address sheet, and tape it to the cardboard photo protector.
Step 5
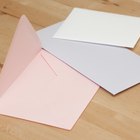
Follow Steps 6 and 7 from Section 1, using a padded or regular envelope. Tape the envelope flap to secure it.
Related Articles
The Standard Size for Wedding ...

How to Obtain a Death Certificate in ...

How to Bake Messages Into Cupcakes

How to Make a Genogram Chart
How to Restore Tintype Photos
How to Locate Someone With Just a Photo

How to Address Envelopes for Military ...

How to Make an Emergency Contact Card

How to Get a Ring That's Too Big to Fit ...
How to Spot a Replica Invicta Watch
How to Send Pictures to Inmates
Obtaining a Copy of a Birth Certificate ...

Easy Crafts for Elderly People to Make

How Do I Find Out the Tax ID Number for ...
How to Remove Adhesive No-Sew Tape
How to Get the Musty Smell Out of Old ...
How to Find a Missing Person Through ...

How to Memorialize on a Death ...

Uploading Photos for Face Shape Analysis
How to Find Someone From the USPS ...
References
Tips
- If you're mailing photos during rainy weather, or to a humid location, place the photos and cardboard protectors in a zip closure bag and seal it. This will protect the photos in case the package gets wet.
- During summer, or to send photos to locations with high temperatures, seal photos in an insulated mailing envelope for extra protection.
- Invest in a tape gun to make mailing multiple photo packages more efficient.
Warnings
- Never place waxed paper, colored paper, letters, or anything else that can transfer or leak next to photos. If you need to enclose a letter, place it in the envelope separately, not inside the cardboard photo protector. Even ink from a computer-printed letter can transfer onto photos.
Writer Bio
Gryphon Adams began publishing in 1985. He contributed to the "San Francisco Chronicle" and "Dark Voices." Adams writes about a variety of topics, including teaching, floral design, landscaping and home furnishings. Adams is a certified health educator and a massage practitioner. He received his Master of Fine Arts at San Francisco State University.
Photo Credits
cd mailer image by Pefkos from Fotolia.com