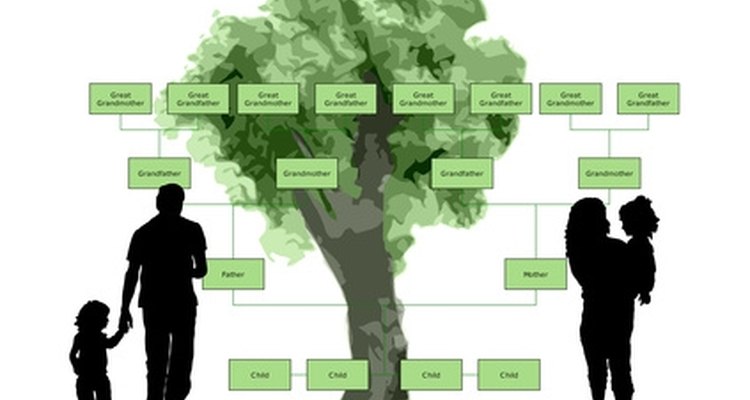
In 5th grade, students begin to learn about the nuts and bolts of society and how they relate to current and past events. An important part of history and culture is the structure of the family. Making a family tree is an organized way for a child to explore and document his family's history. Genealogists use family trees called genograms to make detailed maps of family histories. The same process can be simplified and used to make family trees at a 5th grader's comprehension level.
Step 1
Research your family history by talking with relatives. Start with your parents, asking them to name relatives and how they relate as far back as they know of on both their mother's and father's sides. Talk to your grandparents as well, and great grandparents if you have them, as they will have even more information to give you.
Step 2
Write out your notes in a notebook with a pen. Keep the information about your mother's family separate from your father's family to avoid confusion later on. Make notes about birth dates, death dates and how people are related to each other every time you add a new person.
Step 3
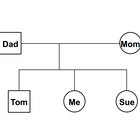
Draw a rough draft of the family tree in your notebook. To do this, draw a 1/2-inch circle at the bottom of the page and write your name in it. Draw a circle for each of your siblings next to yours and write one of their names in each one. Draw short lines between each circle, connecting them.
Step 4
Draw two more 1/2-inch circles next to each other above yours and those you drew for your siblings. Write your mother's name in one and your father's in the other. Connect the two circles with a line between them. Draw a line from the connecting middle line to the line between you and your siblings. This diagram is your nuclear, or immediate, family.
Step 5
Draw circles for each of your aunts and uncles on your father's side next to his circle. Draw circles for your mother's siblings the same way.
Step 6
Draw two circles above each of your parents and write the names of your grandparents in the circles. Connect your grandmother and grandfather on each side to each other with a line and connect lines to each of their children, including your parents.
Step 7
Continue this process of adding parents and children in each generation, going as far back as you can. If the page gets too messy with all the names, start again -- on a larger paper, if needed -- and allow for more space for names where you know you'll need it.
Step 8
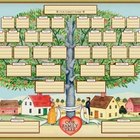
Transfer the information from your draft to a poster board, but leave out the circles. Instead, write the names of all the people, dates of birth and date of death if applicable. Write very clearly. Connect the lines the same way you did on your draft.
Related Articles

How to Make a Genogram Chart
How to Make a Family Tree With Ex ...
How to Create a Family Tree That ...
How to Find Out Who You're Related to ...
How to Draw Genograms

How to Trace the History of a Name
How to Draw a Family Tree When There Is ...
How to Honor Parents at a Wedding

The Difference Between First and Second ...

How to Word Thank You Cards After a ...

How to Give a Written Analysis of a ...

How to Cut a Cooked Pork Shoulder
How to Write a Grandparent's Biography

How to Freeze Empanadas

How to Make a Tasty Drink for Kids From ...
How to Find Twins on Pedigree Charts

How to Make Toasted Bread Sticks With ...

Parents of the Groom Wedding Toasts
How to Find Out Where Your Family Came ...

Who Sits at the Reserved Table at the ...
Writer Bio
Ashley Kurz, a full-time professional writer since 2009, publishes on various informational websites. An expert in the craft field specializing in craft-related topics, Kurz has taught arts and crafts for group therapy sessions.
Photo Credits
family tree image by Judy Ben Joud from Fotolia.com