
Weight gain and loss can cause problems with the fit of your pants, leaving you with excess wrinkles or constricting tightness. Even brand new off-the-rack pants, sized to the standard patterns used by manufacturers, might need adjustments for non-standard bodies. Proficient home sewers can address major fitting problems by altering a standard pants pattern before sewing. But with patience, and some basic sewing skills, you can fit and make adjustments to old pants that no longer fit, or new pants that need some tweaking.
Determine Adjustments Needed
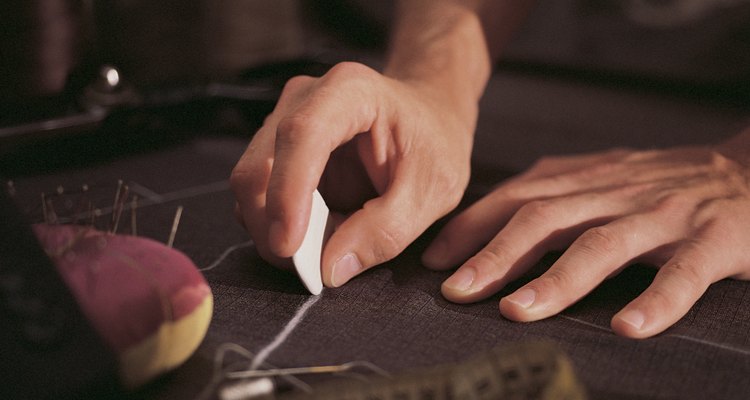
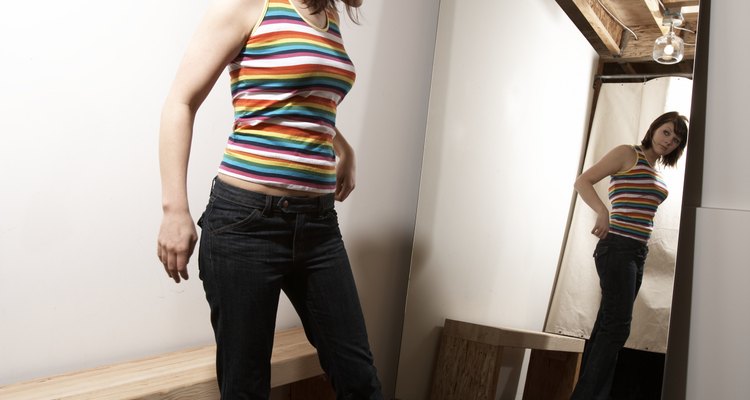
Try on the pants. Use the mirrors to view the seat of your pants. If the pants are too tight, use tailor's chalk to mark the center back and side seam areas where the pants need to be let out. Remove the pants.
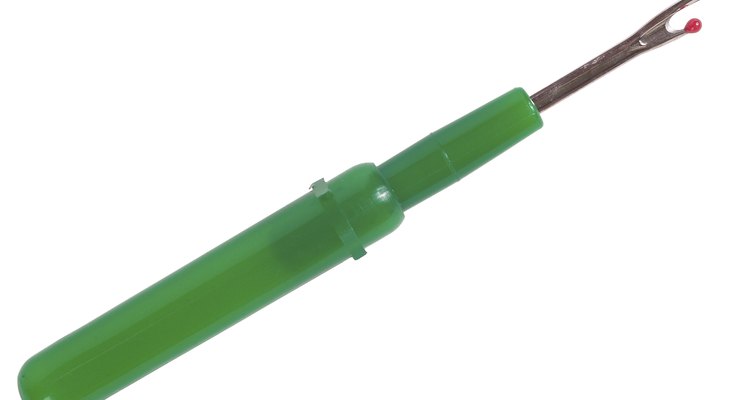
If the pants themselves were too tight, use the seam ripper to remove stitching in the areas you marked in the center back and side seams. If the waistband was too tight, and the waistband has a center back seam, use the seam ripper to remove the stitching in the center back seam of the waistband. If the waistband was too tight, and there is no center back seam in the waistband, use the seam ripper to remove the stitching in the waistband seam and detach the waistband from the pants.
Turn the pants inside out, and try them on again. Use the mirrors to view the fit. Pinch the fabric at the seams together to determine desired fit, and use the tailor's chalk to mark the new seam line. Remove the pants.
Baste and Sew Seams
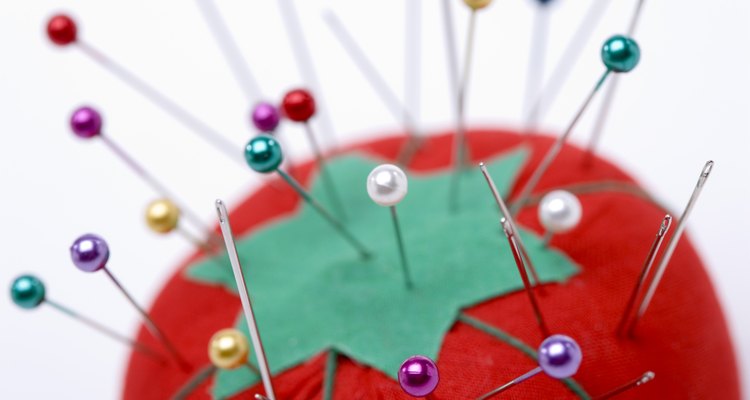
Use straight pins to pin the new seams at the chalk marks. Use the needle and thread to baste the seam by hand, or use the sewing machine set at a basting stitch length to sew the new seam. Turn the pants right side out, and try them on. Use the mirrors to check the fit.
If new adjustments are needed, repeat Steps 1, 2, and 3 of Section 1 until you are satisfied with the fit.

Use the sewing machine, set at a short stitch length, to stitch all final seams in the center back and sides, and the center back of the waistband. If you have removed the waistband, use the sewing machine to reattach it to the pants at the waistband seam.
Finishing Touches
Use the seam ripper to carefully remove basting stitches. If you have taken in the pants, use the seam ripper to remove the original stitching from the seam in the altered section.
Use the iron to press the side and center back seams open. If you have reattached the waistband, press the waistband seam toward the waistband.
Use scissors to trim seams to no smaller than a half inch. Finish raw seam edges with a sewing machine set to a zig-zag stitch. Snip excess thread with scissors. If the waistband has been reattached, turn under the inside lower edge of the waistband and slip-stitch to the waistband seam.