BananaStock/BananaStock/Getty Images
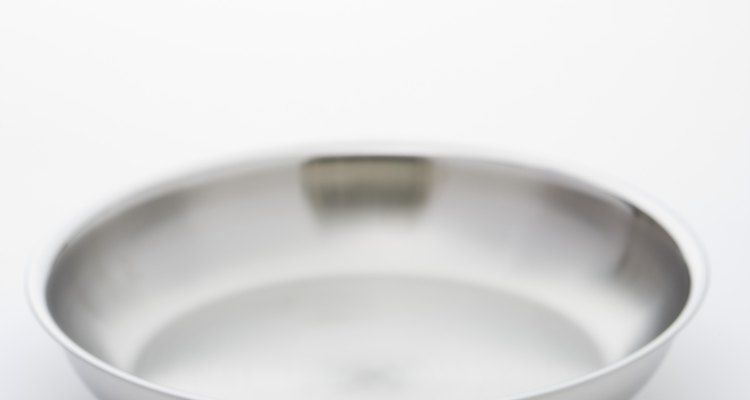
Nonstick pans provide a cooking utensil that resists wear and tear. Nonstick cooking surfaces reduce sticking during cooking, often eliminating the need for scrubbing and scraping at cooked-on food debris. Although food seems to slide right off the surface when these pans are new, they occasionally lose their non-stick finish and require rejuvenating. Known as “seasoning," rejuvenating a nonstick pan can provide many weeks or months of additional use.
Ovenproof Pans
Use your oven to rejuvenate pans that don’t contain wood or plastic along the handle sections. Preheat the oven to 300 degrees Fahrenheit.
Heat the pan on the stovetop while the oven is preheating. Set the stove element on a medium setting and keep the pan in place until it feels warm to the touch.
Brush vegetable oil over the inside surfaces of the pan, using a heatproof pastry brush. After coating the entire surface with oil, allow the pan to continue heating until you begin to observe ripples forming along the surface of the oil.
Grasp a clean rag in a pair of kitchen tongs to avoid burning your fingers. Swipe out the excess oil with the rag.
Set the ovenproof pan into the center of your preheated oven. Allow it to remain in the oven for about 45 to 60 minutes. Remove the pan with an oven mitt and allow it to cool.
Pans with Plastic or Wooden Handles
Avoid damaging pots that contain wooden or plastic handles by keeping them out of the oven.
Place this type of pan on your stovetop, setting the heat to a low temperature. Heat the pan until it feels slightly hot to the touch.
Remove the pan from the stovetop and drizzle a few drops of vegetable oil over the surface. Use a clean rag to rub the oil into the pan, coating the entire inner surface until it gleams.
Let the pan cool to room temperature. Wipe off as much of the oil as possible with dry paper towels.
Related Articles

Roshco Silicone Bakeware Instructions

How to Use Oil in a Nonstick Pan

How to Remove Loctite From Clothes

How to Get Deep Scrapes Out of Leather ...

What Is the Highest Temperature That ...

How to Clean a Chamois Leather Jacket ...

How to Mold a Shoe Sole

How to Refinish Cast Iron Cornstick Pans

How to Take Out Scratches From Silver ...

How to Use Inserts With Dansko ...

How to Repair and Remove the Steel Toe ...

How to Change the Battery on an Oral-B ...

How to Get Paint Off of Your Uggs

How to Clean Scuffed Up Rain Boots

How to Use a Weber Gas Grill: First ...

How to Remove Silicone Sealant From ...

How to Use an Iron Skillet on a Ceramic ...

How to Lubricate a Norelco Razor

How to Cook Homemade Crabcakes in the ...

How to Care for Asolo Leather Hiking ...
Warnings
- Avoid a kitchen fire by removing the pan with oil from the stovetop before it begins smoking.
Writer Bio
Laura Wallace Henderson, a professional freelance writer, began writing in 1989. Her articles appear online at Biz Mojo, Walden University and various other websites. She has served as the co-editor for "Kansas Women: Focus on Health." She continues to empower and encourage women everywhere by promoting health, career growth and business management skills.
Photo Credits
BananaStock/BananaStock/Getty Images