Medioimages/Photodisc/Photodisc/Getty Images
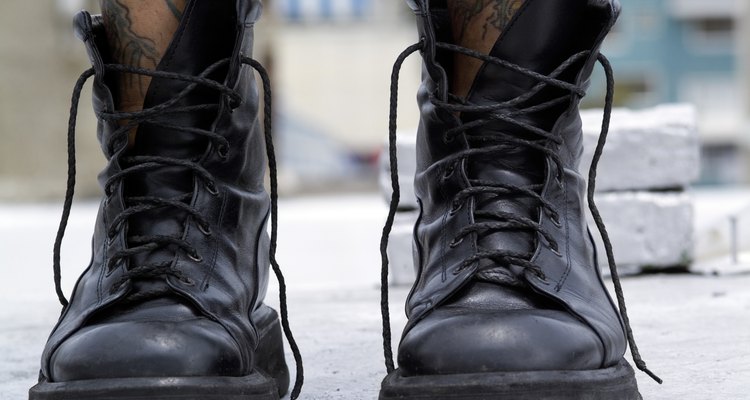
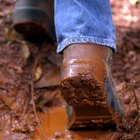
Leather boots are expensive and a good, well-worn, comfortable pair of boots is hard to replace. Over time, they inevitably will suffer the signs of your love. Accidents or just continuous use can cause holes or tears -- defeating one of the main benefits of leather boots, which is to keep feet dry and protected. Instead of throwing away that great pair of boots, repair them effectively and easily with a leather patch. Patches and glues are typically sold together in leather repair kits. It is important that the leather is clean before patching to ensure adequate adhesion of the patch glue.
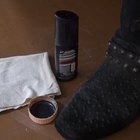
Clean the boots with a damp rag. For more sullied boots, use a leather cleaner and conditioner. Allow the boots to dry completely before applying the patch.
Cut a piece of leather patch so it is a bit larger than the hole or tear.
Apply an even layer of adhesive to the patch.
Affix the patch to the hole or tear. Place the patch inside the shoe or, if possible, between the leather and the interior lining. This way, the patch will not be visible from the outside. If the patch cannot be placed behind the leather, place it on the exterior of the boot.
Apply pressure to the patch for 20 to 30 seconds.
Fill in the remaining gap with the leather repair compound. Force it into the gap and smooth it down, using the small spreading knife (the compound and knife should come in the repair kit). Repair compound dries flexible and typically is transparent, although some repair kits offer colored compounds for matching the footwear in question.
Allow the adhesive and compound to cure according to the manufacturer’s instructions.
Spray a leather grain spray or a leather spray color that matches your boots if needed to blend the texture or color in the patched area. Some repair kits offer texture papers that can be pressed over the drying compound to emboss the area with a matching texture.
Related Articles
How to Repair Sheepskin Slippers

How to Repair a Leather Belt
How to Clean Lizard Skin Boots
How to Fix Ripped Rubber Boots
How to Care for Chukka Boots

How to Glue a Leather Shoe Strap
How to Repair Leather Interiors of Shoes
How to Clean Scuff Marks Off of Tan ...
How to Care for Ostrich Boots

How to Repair Leather Jackets
How to Repair Cracks in Leather Shoes & ...
How to Fix a Crack in My Hunter Wellies
What Happens to Leather Shoes When ...
How to Care for Man-Made Boots
How to Shrink Leather Boots
What Is a Good Way to Break In Danner ...
Getting Dirt Stains Out of Gray Leather ...

How to Harden Leather Boots

How to Fix a Leaky Pair of Rubber Boots
How to Clean Scuffed Up Rain Boots
References
Writer Bio
Mason Howard is an artist and writer in Minneapolis. Howard's work has been published in the "Creative Quarterly Journal of Art & Design" and "New American Paintings." He has also written for art exhibition catalogs and publications. Howard's recent writing includes covering popular culture, home improvement, cooking, health and fitness. He received his Master of Fine Arts from the University of Minnesota.
Photo Credits
Medioimages/Photodisc/Photodisc/Getty Images