Zedcor Wholly Owned/PhotoObjects.net/Getty Images
A wooden arch can add a sophisticated touch to an outdoor, garden-style or indoor wedding. You can decorate arches in a variety of ways to fit with the mood and decor of the wedding. Wooden wedding arches are available at most craft supply stores, but buying an arch can limit you in the style and the size. Designing and constructing your own wedding arch can often be a better option, even if you do not necessarily have extensive knowledge of tools and woodworking. With a little planning and some elbow grease, you can make a wedding arch that will be perfect for your wedding.
Plan the design of the arch, down to the style and the measurements. Weddings arches can be literal arches, with the wood curved over the top, or they can be arbor-style arches with a gabled top. Assess your skill level in building and then take the time to plan the different lengths and widths. Remember that the wedding arch will have two sides and a top. Standard-sized arches generally fall into the range of 56 inches wide x 144 inches tall x 45 inches deep.
Purchase the wood, lattice panels and the hardware that you will need. Plan to buy a little extra, in case you run into problems while constructing the trellis.
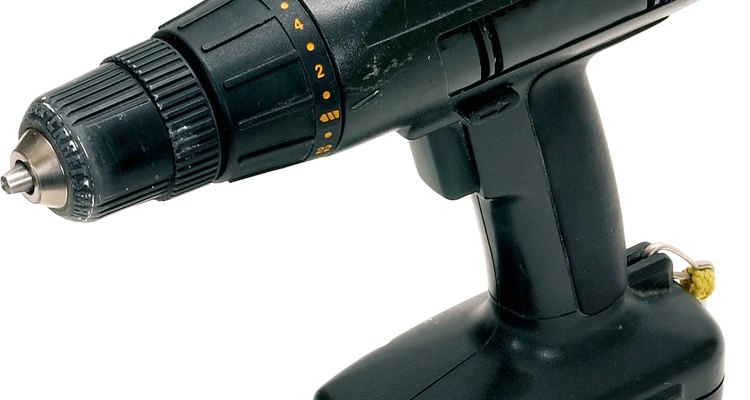
Ask your local hardware or home improvement store to cut the wood. Supply them with the exact sizes of everything that you will need to ensure that the pieces will fit together correctly.
Construct the side panels of the arch with the lattice. Attach the 2 x 4 corner pieces to the lattice by drilling out channels for the lattice to fit inside. This require a channel drill bit, which you can purchase from a local hardware store. Line the inside of the channels with a light coat of wood glue. Once you have the lattice pieces in place, secure them with screws or heavy-duty nails at frequent intervals.
Construct the arch that will go over the top. If it is a gable-style arch, attach 2 x 6s at an angle and secure them with strong nails. If you prefer a rounded arch, build this with four 2 x 6s cut to fit exactly over the top of the arch. Connect these pieces with strong screws as well as wood glue. Once the pieces are dry and secure, you have the option of sanding over the top to smooth it into a rounded shape. Attach a series of 1 x 6s (with nails or screws) over the top of the arch to connect each piece and create a sturdy archway.
Attach the side panels of the arch to the top. This will require that you add tenon joints on each corner post that connect to mortise joints on the arch. Once you have attached these, use wood glue and then clamps to ensure stability. Add screws at the joints for an extra layer of security.
Paint the arbor and then install it. To secure it in the ground, dig out holes that are at least 6 inches deep and then fill them with rocks, gravel or dirt (or a combination). Let the arch sit in the ground for a few days before using it at the event.
Related Articles
Homemade Party Tent
How to Make a Rhinestone Template
How to Make a Dutch Cheese Press

How to Add Wheels to a Backpack

How to Build a Bamboo Wedding Arbor

Decorating Ideas for a Pavilion for a ...
How to Make Cowboy Spurs

How to Convert a 2D House Plan Into a ...
How to Cook Ribs Over an Open Pit
How to Make Leather Boots
How to Decorate a Wedding Arch with ...

How to Round Your Nails

How to Fix a Nike Cortez If the Sole Is ...
How to Make a Pirate Cannon for a Party

How to Make a Floral Arrangement for an ...

How to Get Nail Stickers to Stick Well

How to Tie Shoelaces With a Ladder ...
How to Make Snakeskin Boots

DIY Dance Floor for an Outdoor Wedding

How to Make Your Own Shoe Tree
References
Writer Bio
Kristie Lorette started writing professionally in 1996. She earned her Bachelor of Science degree in marketing and multinational business from Florida State University and a Master of Business Administration from Nova Southeastern University. Her work has appeared online at Bill Savings, Money Smart Life and Mortgage Loan.
Photo Credits
Zedcor Wholly Owned/PhotoObjects.net/Getty Images