


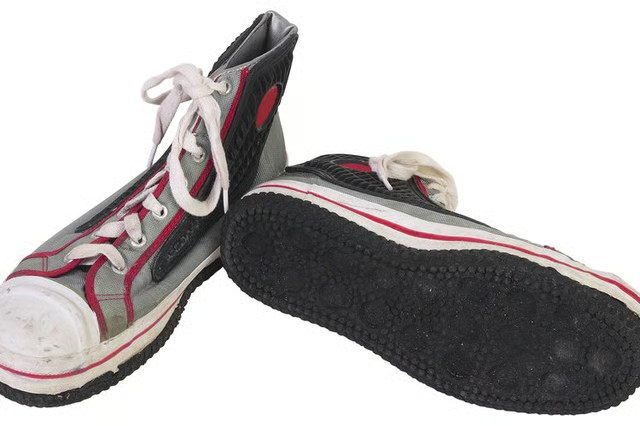
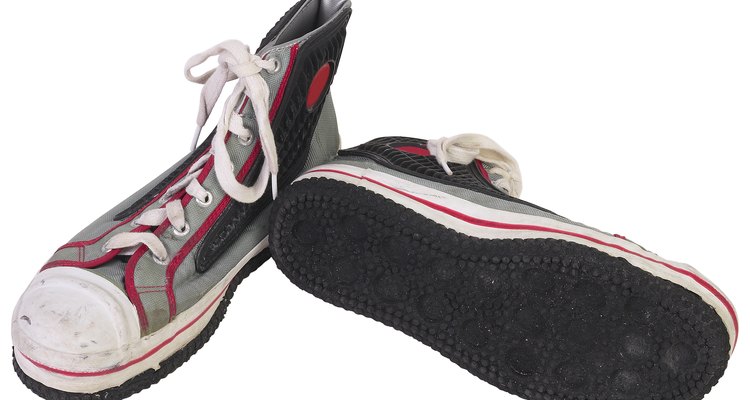
The cool thing about high top sneakers is that they are comfortable and look really hip. But if you wear them often, you are bound to get creases in the heels. Don't just throw them out or send them to back of the closet. Fix them. Whether your high tops are made of cotton canvas or soft leather, there are ways to smooth the wrinkles. You can repair those sneakers until they look nearly new.
Leather High Tops
Stuff your sneakers with socks. This will help to retain the original shape of your shoes as you work on them. Two pairs in each shoe should be enough, but if there is still room, stuff more in there until the socks are really tight and filling out the insides of the shoes.
Wet down a towel. Hold one sneaker in your hand, turning it laces down. With the other hand, drape the wet towel across the heel.
Turn a hair dryer onto the hottest setting and blast the towel-covered heel with air. Hold the dryer about six inches away.
Hold the dryer on the sneaker for a minute. Check the heel to see if the creases are removed. Repeat as necessary until creases disappear. Repeat on second shoe.
Canvas High Tops
Stuff your sneakers with socks so that the shape of the sneaker is filled out completely. Two or three pairs in each sneaker will suffice.
Spray the back of your sneakers with heavy duty starch until they are lightly damp. Let the sneakers sit for a minute to allow the starch to sink in.
Set an iron on the highest setting and allow it to heat up. Lay one sneaker on its side and lightly press the creased area with the hot iron. Lift the iron every few seconds to avoid burning the shoe. Also, press the steam button every so often to release steam, making the starch more effective.
When the creases have disappeared, stand the sneaker upright and allow it to completely dry. Repeat Step 3 with the second shoe.