Printed shirts offer more possibilities than shirts designed with specialty fabric or colored thread. Shirts designed with inks are cheaper and versatile, especially homemade shirts. Iron-on transfers create customized shirts and can be made using your home computer and printer. The ink from iron-on transfers is subjected to normal wear-and-tear from repeated washes. As a result, the ink may start to peel from the corners of the print. You can save the shirt from the garbage with the use of an iron and wax paper. Fix the peeling ink from the shirt as soon as possible, before it's too late.
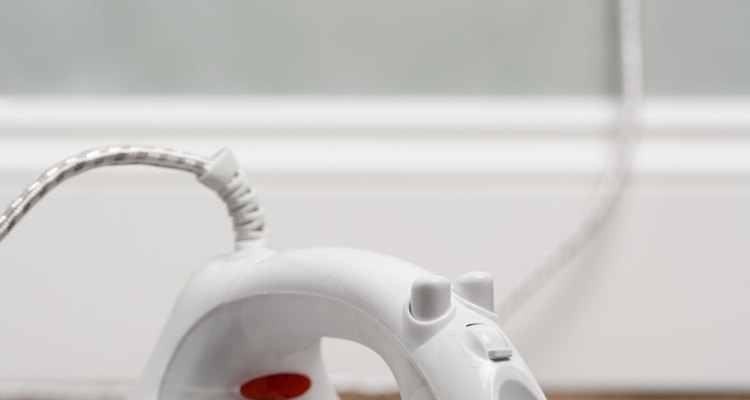
Plug in an iron. Set the iron at the highest temperature setting. Preheat for five minutes.
Iron wrinkles out of the shirt. Place a sheet of wax paper over the peeling ink.
Press down firmly on the iron using both hands. Iron over the wax paper and peeling ink, keeping the iron moving over the wax paper from side to side.
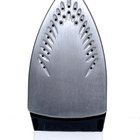
Iron over the wax paper for approximately three minutes for a full-page (8 1/2 by 11 inches), a minute and a half for a half-page and 45 seconds for a quarter-page image. Go over the corners and edges of the image again.
Prevent further peeling by turning the shirt inside-out prior to washing in cold water. Dry the repaired shirt on low heat only.
Related Articles
How to Write on T-Shirts
How to Wash Armani Tee Shirts

How to Shrink Cotton Shirts

How to Get Wrinkles Out of Rayon & ...

How to Prevent Armpit Stains on White ...
Iron-On Transfers & Washing Instructions
How to Get Highlighter Out of a Cotton ...

How to Press Jeans
How to Put Transfers on Silk Satin Cloth
How to Cook Angelfish

How to Remove Candle Wax From a Silk ...

How to Get White Fuzz Off Sweaters

How to Peel Raw Beets

How to Get Stains out of Dockers

How to Make Your Own Custom T-Shirt ...

How to Get Wrinkles Out of Khakis

How to Get an Oil Mark Out of a Satin ...

How to Get Rid of Yellow Age Spots on ...

How to Roll Up & Button a Girl's ...

How to Clean Cotton-Polyester Blend ...
References
Photo Credits
Polka Dot Images/Polka Dot/Getty Images