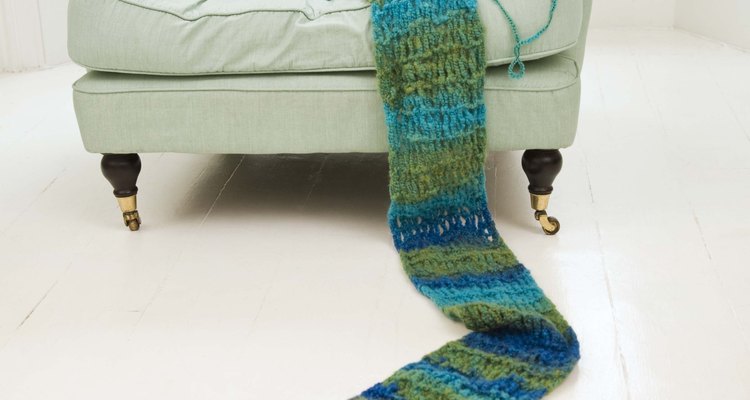
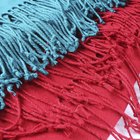
Jazzing up any standard knit scarf by adding personalized details and design elements will not only make the knit more elaborate, but it will set the wearer apart from the crowd. The embellishment of your knitted scarf is limited only by creativity. One method to decorate a knit scarf is to add fringe and colorful beading to the ends. Layering different textured fringe and sewing exotic beads to the yarn will make your scarf a true original.
Pull the crochet hook down through the final knot in the scarf binding and out the end. Determine the desired length of the fringe. Cut the amount of desired length from the yarn.
Fold the cut fringe in half and loop it through the crochet hook. Pull the hook back up and through the end binding and carry the yarn through the knot to make a loop.
Wrap the remaining fringe around the crochet hook and pull it through the loop. Pull to secure. Repeat on all end knots so the fringe runs the length of the scarf.
Cut bead thread between ten to twelve inches. Thread beading needle and loop thread to double the strength and tightly knot.
Pull thread through the underside of the scarf, add bead of choice and pull the thread back to the underside. Slightly separate the yarn on the underside and pull three smaller fibers from the yarn. Wrap the thread around the three pieces and pull to secure.
Knot the thread around the three sections and pull to secure. Repeat with any additional beading.
Related Articles
How to Tie a Tube Scarf
How to Make a Friendship Bracelet
How to Make Yarn Dreads and Braids
How to Make a Bridal Cape for a Wedding ...
How to Make a Jewish Prayer Shawl

How to Make a Genie Veil

How to Tie a Jabot Knot

How to Wear a Scarf to Cover the Ears

How to Make a Can-Can Costume
How to Make Bows for Wedding Bouquets
How to Clean Pashmina Scarves
How to Resize Silicone Bracelets

How to Tie the Cartier Charity Love ...

How to Crochet a Wedding Veil

How to Make a Presentation Bouquet
How to Fix a Wire That Has Come Out of ...
How to Attach Adjustable Buckles
How to Make a Mesh Chain and Charm Belt

How to Clean Polyester Neckties

How to Make a Fuzzy Navel With ...
References
- "Knitting New Scarves: 27 Distinctly Modern Designs"; Lynne Barr and Tyllie Barbosa; 2007
Writer Bio
Kate Dolack served as a writer, producer and director of new series development for an independent documentary production company. Her programs have appeared on Investigation Discovery, PBS, CNBC, MSNBC, A&E and Discovery. Working in her field since 2005, Dolack holds a B.A. in film, television and journalism from the University of Notre Dame.
Photo Credits
Jupiterimages/Polka Dot/Getty Images