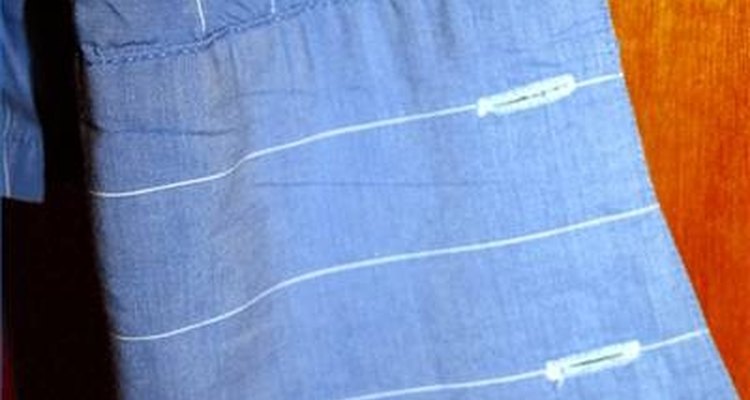
French cuffs are double cuffs that are folded back and fastened with cuff links. They are the most formal dress shirt cuff design option, appropriate for evening wear as well as for daily wear in fields like law, finance and international business---or for the fashion-savvy in any field. Ironing French cuff shirts yourself by following these simple steps will not only save you ironing fees at the laundry service, but will give your shirts the highest-quality luxury appearance that can only come from hands-on personal attention rather than a commercial laundry shirt press.
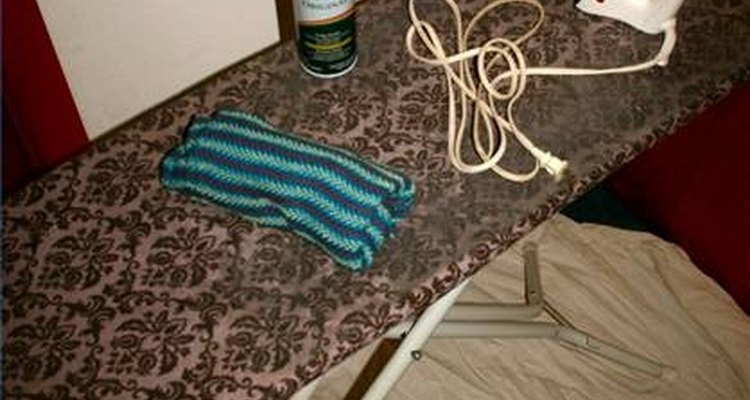
Select a comfortable space for ironing, close to an electrical outlet but clear of hazards that might soil your shirt. A dog's water dish on the floor, an ashtray on a nearby table, or a beverage balanced on the end of the ironing board are all likely to wind up sullying a trailing sleeve. Spread out a clean sheet on the floor beneath the ironing board to ensure that your shirt does not pick up dust or fuzz from the underlying carpet. Inspect your shirt's care label to determine the fabric content, then plug in the iron, set it to the appropriate heat setting, add distilled water to its steam chamber and let it warm up for several minutes until it reaches proper temperature.
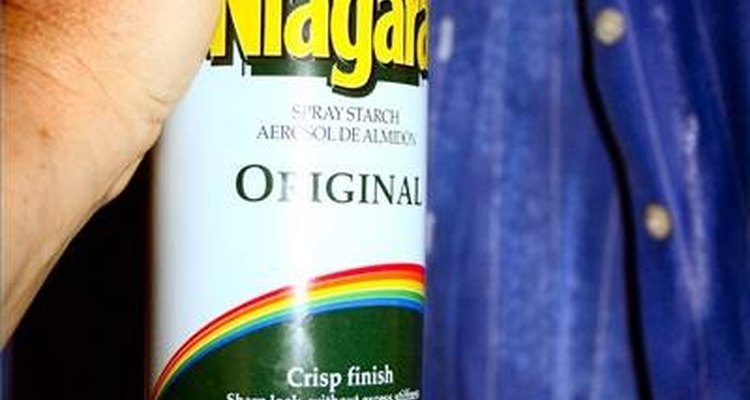
While the iron is warming, hang your shirt on a hanger and button the top button. Make sure the shirt is clean---ironing a soiled shirt may permanently set in the stains. Mist your clean shirt with water from the spray bottle, then spray it lightly with starch. Let the spray starch soak into the shirt for a minute or more before ironing.
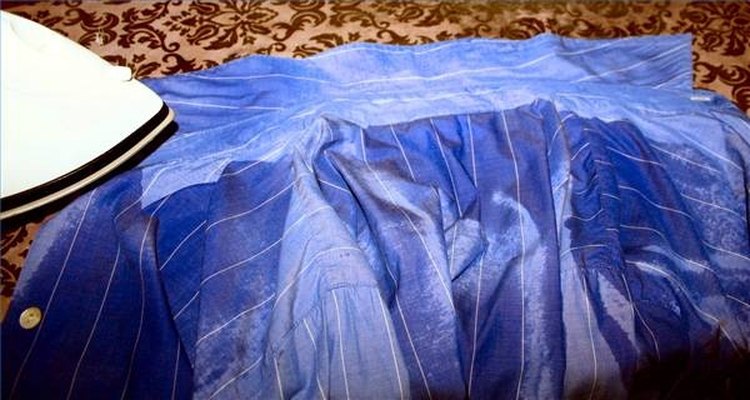
When the iron is preheated and your shirt is misted and starched, stand with the square, wide end of the ironing board to your right if you are right-handed, or to your left if you are left-handed. Unbutton the shirt and lay it flat on the board in front of you, with the back facing you. Start ironing the shirt with the outside of the collar, working each half from the point inward. Then lightly press the inside, visible portion of the collar. After the collar, press the yoke by sliding the shirt's shoulders one at a time over the narrow end of the ironing board.
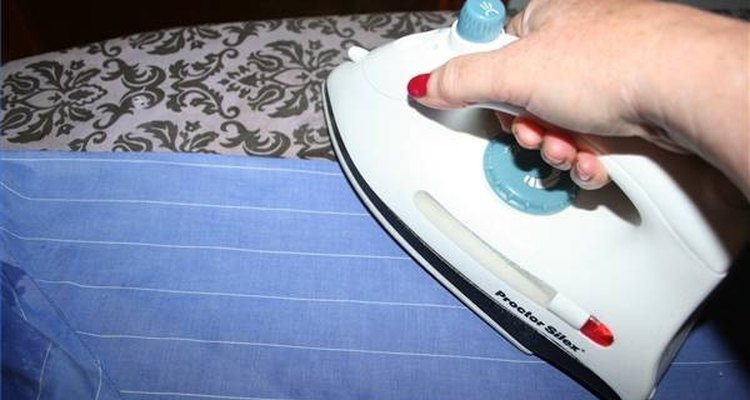
Grasp one sleeve by the end of the seam at the underarm with one hand and at the cuff with the other. Shake the sleeve and lay it flat on the ironing board with the seam toward you. Set the point of the iron on the seam at the cuff end. Still holding the seam at the underarm, stretch very tightly and press the seam flat. Continue to hold the seam with one hand while you smooth the sleeve away from you with the iron, moving the iron right off the top edge of the sleeve, creating a sharp crease at the top of the sleeve. Press in any pleats at the cuff end.
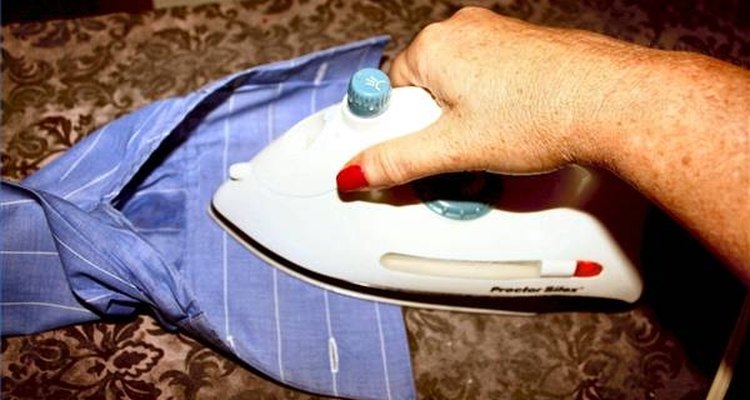
Press the sleeve placket, then open the cuff, laying the French cuff out flat. Press the inside of the French cuff while stretching the cuff tightly with your hand, which should cause it to curl slightly inwards. Try to avoid catching the corners of the cuffs in the steam holes of the iron. You can use a clean, smooth-textured linen or cotton dishtowel as a pressing cloth to help avoid this: mist the towel with water from the spray bottle, then lay it over the cuff and iron over both the towel and the cuff.
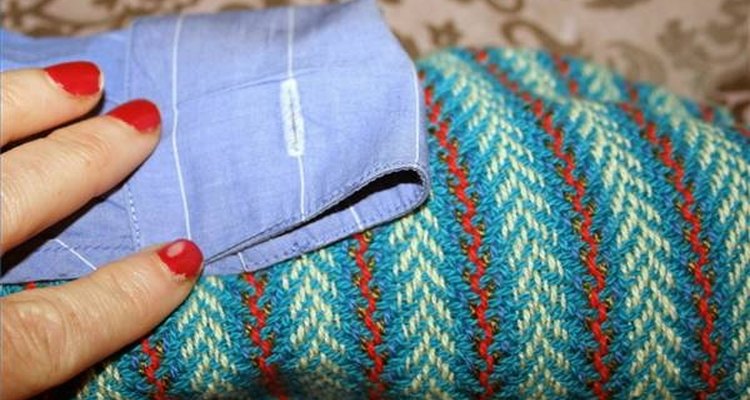
Mist your dishtowel again, then fold it in half the long way and roll it up into a tight roll. insert the rolled dishtowel into the end of the sleeve, fold the French cuff back carefully so that the cuff link holes are aligned, and lightly press around the cuff, turning to press all the way around. You want to ensure that the fold line where the cuff is turned back is lightly pressed to hold its shape, but not sharply creased, which can hasten fraying. Top haberdashers like Alexander S. Kabbaz and Joelle M. Kelley and Sons of New York note that hand-shaping a rounded cuff, particularly on a formal French cuff shirt, is a critical step: commercial shirt presses flatten the cuffs along with the rest of the shirt, leaving an unsightly crease in the cuff. Press your French cuff around a towel and shape it into a soft circle by hand. Then fasten the link holes together by using a twist-tie to hold them in place while the garment hangs in the closet awaiting its next wearing.
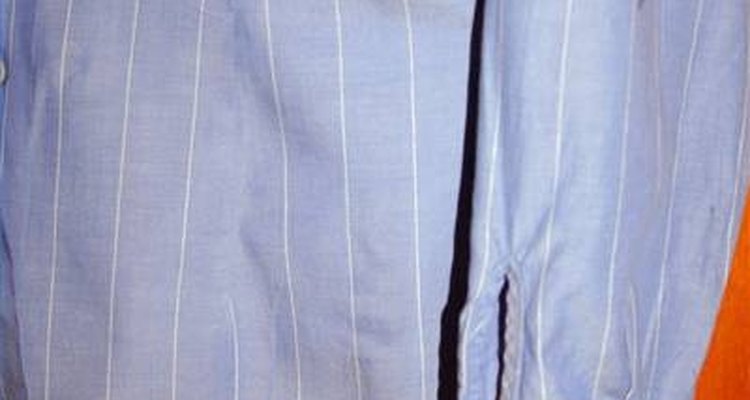
Repeat this process with the other sleeve, then proceed to iron the button side of the shirt front, using the divot at the point of your iron to work around and in between the buttons. Next, iron the buttonhole side of the front; you may wish to use more spray starch on the placket to ensure that the shirt front stays crisp when buttoned. Finally, iron the shirt back, carefully pressing in any creases, and hang the shirt on a hanger, buttoning the top button.
Related Articles

How to Iron a Uniform Shirt

How to Iron an Egyptian Cotton Dress ...

How to Starch Dress Shirts for a ...
Instructions for Ironing Creases on a ...

How to Heavy Starch a Shirt Like the ...

How to Get the Creases Out of a New ...
How to Iron a T-Shirt

How to Iron Cotton Clothing

How to Iron a Pleated Skirt

How to Get Wrinkles Out of Rayon & ...

How to Iron Polo Shirts

How to Roll Up & Button a Girl's ...

How to Iron Dress Blues

How to Fold a Dress Shirt to Avoid ...

How to Supercrease Pants

How to Make Darts in Shirts

How to Stiffen a Shirt

How to Get a Crease Out of a Collar

How to Remove Wrinkles From Polyester ...

How to Iron an ACU Top
Resources
Tips
- Use a good quality ironing board, ironing board cover and iron. The extra money spent up front for top-quality ironing equipment will more than pay for itself in savings on laundry service bills, and your investment will last for many years.
- For a glossier finish to your shirt fabric, mist the shirt and spray it with starch, then fold it gently into a large zippered plastic bag and place it in the refrigerator overnight. Pull the shirt from the bag only after the iron is up to temperature and you are ready to iron the shirt while it is still cold.
- Be sure to set the iron at the right temperature for your garment---not too hot and not too cold. Linen can require a very hot iron, but synthetic fiber blends will melt if the iron is too hot.
Warnings
- Never leave an iron unattended. Be sure to unplug the iron and set it upright in a safe location, with the cord carefully coiled up, whenever you must step away from it even for a moment. A dangling electrical cord is a dangerously irresistible attraction for pets and small children.
- While ironing, keep the iron moving at all times to avoid scorching the fabric.
- Although linen requires a very hot iron, the buttons on a linen shirt may well be plastic, which melts easily when the iron is at the hottest setting. Take extra care to iron around and between, but not over, the buttons on a linen shirt.
Writer Bio
A freelance writer since 1978 and attorney since 1981, Cindy Hill has won awards for articles on organic agriculture and wild foods, and has published widely in the areas of law, public policy, local foods and gardening. She holds a B.A. in political science from State University of New York and a Master of Environmental Law and a J.D. from Vermont Law School.
Photo Credits
Cindy Hill