
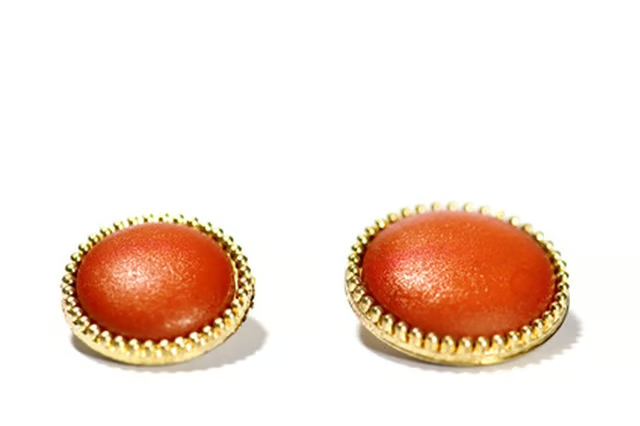
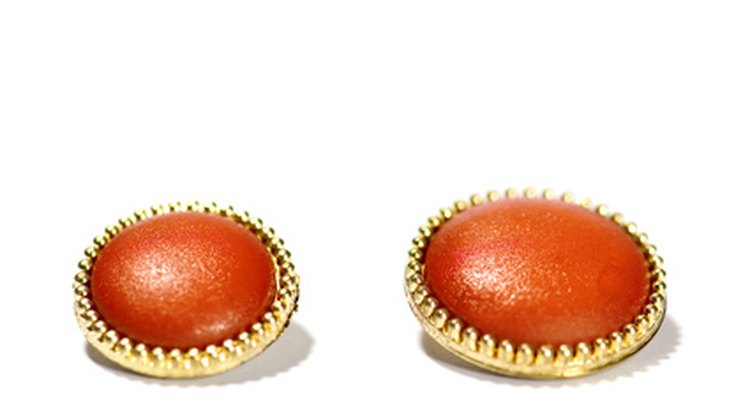
Vintage and western clothing often have lovely pearl snap buttons. However damage to the pearl insets can occur over time. A broken pearl snap button is not a reason to toss an article of clothing. Replacing a pearl snap button takes little time or experience.
Removal
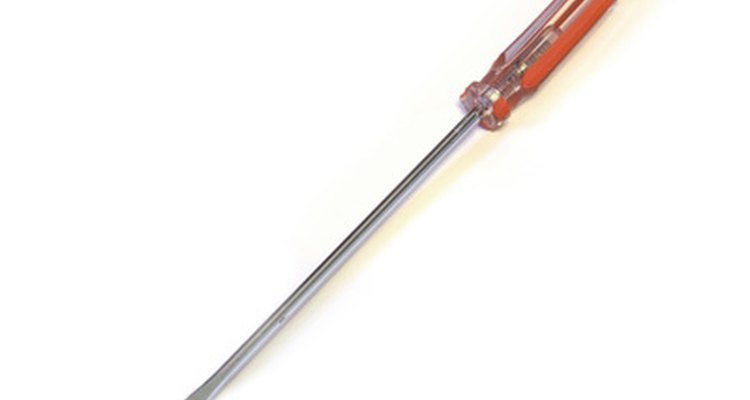
Insert the flat-head screwdriver under the edge of the broken pearl snap and gently pry the snap off. Remove the underside of the snap with your fingers. To remove the stud side of the snap, again insert the screwdriver between the edge of the snap and the fabric. Gently pry the snap stud up and off, remove the underside of the stud snap with your fingers.

Insert the pearl snap into the snap pliers following the instructions on the snap plier's package. Generally the pliers will have a rubber ring for the pearl side of the snap to set in. The pearl snaps prongs or "teeth" will be sticking up. Insert the socket piece of the snap on the metal side of the pliers. Be sure to have the right side of the socket up.

Position the pliers with the pearl snaps prongs over the mark on the garment left by the old snap. Gently close the pliers until the prongs have pierced the fabric and the prongs are touching the snap socket. Give another firm squeeze to set the snap prongs into the lower socket. The pearl side of the snap is now on.
Insert the thin pronged ring into the metal side of the pliers with the prongs facing out. Place the stud side of the snap into the rubber ring with the stud facing down.
Position the pliers over the mark on the garment left by the old snap. Gently but firmly squeeze the pliers until the prongs have pierced the fabric and are touching the stud side. Give the pliers one last firm squeeze to set the snap.