Jupiterimages/BananaStock/Getty Images
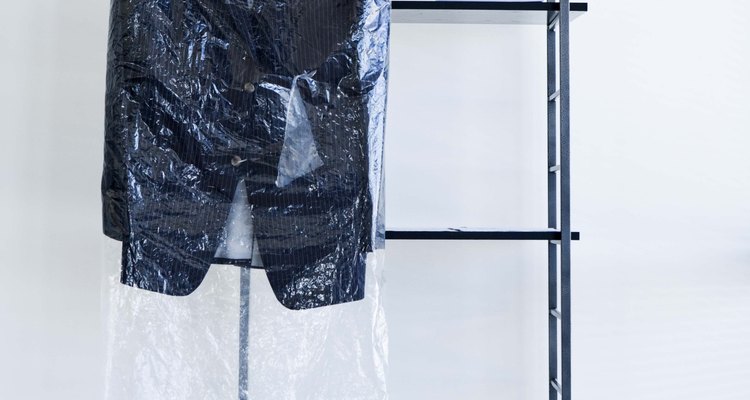
Altering the shoulder of a jacket requires some basic sewing skills and proper measurements to ensure that the alterations meet your needs. When preparing to alter the jacket, measure the distance between the shoulder's edge and the neck. Then, make sure that your adjustments line up with those measurements. If you take too much off the shoulder, you will end up with a scrunched up shoulder. Taking too little off the shoulder makes the shoulders look droopy, rather than form fitting.
Turn the jacket inside-out so that you can modify the inside of the jacket without causing visible damage to the outside portion of the jacket.
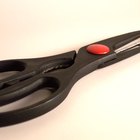
Remove the shoulder seam using the hooked end of the seam ripper. Using the hook on the seam ripper pull up on each individual stitch to cut the seam. Do not completely remove the entire seam, just cut around the shoulder to the area where the armpit falls. Remove the shoulder pads if your jacket has them.
Fold the outside of the sleeve over to bring the shoulder in. In general about one inch should be enough for most people. If you need to, fold it over an additional inch to meet your needs. To get an idea for how much you need to alter the shoulder, place pins in the shoulder to keep it intact and carefully put the jacket on.
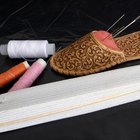
Restitch the shoulder from the inside of the jacket using your sewing machine. When finished cut any loose fabric from the inside away from the jacket. Cut it close to the stitch to avoid any discomfort while wearing the jacket.
Related Articles

How To Tailor a Suit To Make It Slim Fit

How to Cut a Hoodie Into a Slouchy ...

How to Fix a Fraying Cuff on a Work ...

How to Make a Muscle Shirt Out of a ...

How to Give a Sweatshirt an ...
How to Remove a Speedo Liner

How to Fold an Eddie Bauer Rain Jacket

How to Use a Sewing Machine to Make a ...

How to Cut Up a Guy's Shirt to Make a ...
How to Cut a Hooded Sweatshirt
Instructions for Altering Women's Coats
How to Adjust the Elastic in a Jacket

How to Make Whipping Cream With Milk

How to Cut the Neckline of a Hoodie

How to Turn a T-Shirt Into a Muscle ...

How to Lengthen a Suit Jacket

How to Lengthen Dress Pants

How to Cut a T-Shirt Into a Tank Top ...

Turning a Shirt Into a Tank Top for Men

How to Fix Overall Buckles So They ...
Writer Bio
Avery Martin holds a Bachelor of Music in opera performance and a Bachelor of Arts in East Asian studies. As a professional writer, she has written for Education.com, Samsung and IBM. Martin contributed English translations for a collection of Japanese poems by Misuzu Kaneko. She has worked as an educator in Japan, and she runs a private voice studio out of her home. She writes about education, music and travel.
Photo Credits
Jupiterimages/BananaStock/Getty Images