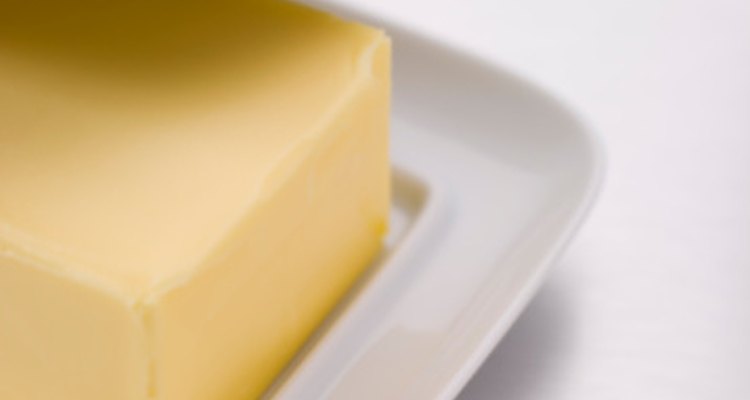
Greasing your cake pan is important if you don’t want your cake to stick when you bake it. Butter is a good choice because it not only prevents sticking, it also tastes good. If your cake recipe includes butter, grease your cake pan with butter to echo the flavor already present in your cake.
Greasing
To grease your cake pan with butter, hold a stick of butter in your hand like it’s a big spoon that you’re using to stir a pot. Work under bright light so that you can easily see exactly where you’ve buttered and where you still need to apply butter. Rub the butter all over the surface of the pan, and turn the pan under the light so you can see clearly. It’s OK if you butter an area of the pan more than once, but don’t let any part of the inside of the pan go unbuttered -- even at the tops of the sides. As the cake bakes, it will rise and climb up the sides of the pan. You don’t want your cake to stick because you missed buttering a spot.
Flouring
After you butter the pan, sprinkle a little flour into it -- about ¼ cup for a regular 8 or 9-inch cake pan, or a little more for a larger cake pan. The flour will stick to the butter, clearly showing you where you’ve floured and where you still need to flour. Tap the sides of the pan and gently shake it around to evenly distribute the flour. Carefully guide the flour around the sides of the pan, too; put flour everywhere you put the butter earlier. If your cake is chocolate, and you’re worried about unsightly flour specks, use cocoa powder instead of flour. It will still keep your cake from sticking to the pan, and will make your chocolate cake look flawless.
Parchment Paper
Once you’ve buttered and floured the cake pan, trace the bottom of the pan on a piece of parchment paper. Cut the parchment paper along the lines you’ve traced, then place the paper in the bottom of the pan, on top of the butter and flour. This is the final safeguard to ensure that your cake doesn’t stick to your cake pan. It’s up to you whether or not you use it, but using parchment paper in addition to butter and flour is common practice in professional kitchens because it guarantees good, non-sticking cake results.
Cake Removal
If you’ve buttered, floured, and applied parchment paper, your cake should have no trouble coming loose from the pan once it’s baked. Run a thin-bladed knife around the edges of the cake to loosen it. When a cake has fully baked, the edges begin to pull away from the sides of the pan, making your task easier. Place an upside-down wire cooling rack across the top of the cake pan. Turn the rack and the cake pan upside down, so the rack is sitting on your counter and the pan is upside down on top of it. Because of the butter, flour, and parchment paper, the cake should slide right out onto the cooling rack. Pull the cake pan off, then peel away the parchment paper and allow your cake to cool before decorating.
Related Articles

Double Chocolate Bundt Cake with Cookie ...

Chocolate Chip Cookie Dough Brownies

What Can I Substitute for Butter When ...
The Chemistry of Baking Brownies
Butter Substitute for Molten Lava Cake
Should Cake Flour Be Sifted Before ...
How to Make Whipped Frosting for Cake ...
How to Make a Light, Perfectly Baked ...
How to Bake With a Pressure Cooker

How to Cook Brownie Cupcakes Without ...
Pumpkin Puree as a Replacement for ...
How to Use Cocoa Powder in Place of ...
How to Keep Cake Edges From Hardening ...
How to Make Butter Sugar Cookies

Can You Use Butter Instead of Cooking ...
How to Dust a Pan With Flour
Calories in Fairy Cake
How to Thicken Icing With Sugar
How Early Can You Make a Wedding Cake?
Healthy Cake Mix Substitute
References
- "The Professional Chef (Eighth Edition)," The Culinary Institute of America; 2006
- "Wedding Cakes You Can Make," Dede Wilson; 2005
Writer Bio
Amrita Chuasiriporn is a professional cook, baker and writer who has written for several online publications, including Chef's Blade, CraftyCrafty and others. Additionally, Chuasiriporn is a regular contributor to online automotive enthusiast publication CarEnvy.ca. Chuasiriporn holds an A.A.S. in culinary arts, as well as a B.A. in Spanish language and literature.
Photo Credits
BananaStock/BananaStock/Getty Images