


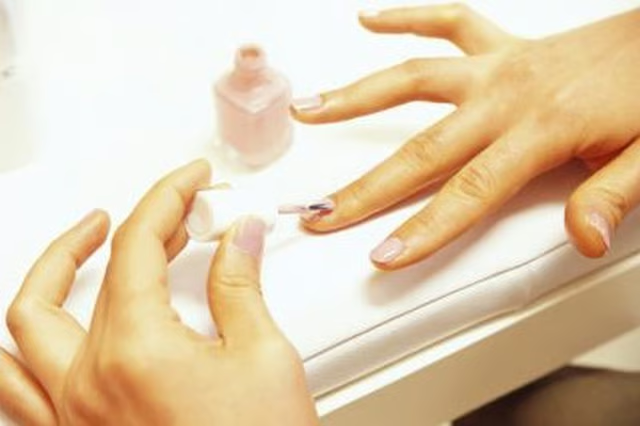

The whole the point of applying nail polish is to improve the appearance of your hands. Unfortunately, at-home manicures often develop streaks and ridges that make you want to reach for the nail polish remover. The streaky look occurs more often with white and pastel colors, which can be unforgiving due to their matte-like finishes. The key to achieving a streak-free nail look is properly prepping the nail and applying a shiny top coat to smooth things out.
Step 1
Saturate a cotton ball with nail polish remover and wipe it over each of your nails to remove existing polish. If no polish exists, wipe your nails with the cotton ball anyway to remove surface oil or dirt.
Step 2
Wash your hands thoroughly and dry them. Examine your nails to make sure there are no cotton strands or tiny pieces of fuzz on them, as these will show up in your dried nail polish.
Step 3
Open a bottle of ridge filler and paint a thin coat over the entire surface of your nails. Wait at least one or two minutes until the ridge filler dries. The ridge filler creates a smooth base for your polish even if your nails have irregularities in them.
Step 4
Hold the nail polish in between your palms and roll it back and forth for 30 seconds to mix the color. Rolling prevents bubbles from forming, which can occur if you shake the polish.
Step 5
Open the polish and remove the brush. Hold the brush parallel to your nail, rather than perpendicular, and place it at the base of your nail near the cuticle. Paint a very thin coat over all of your nails moving from the cuticle to the tip with each stroke. Use only enough polish to cover the nail. Do not go back over the polish using the brush, as this will cause streaking.
Step 6
Wait two or three minutes until the polish dries. Apply a second coat of polish that is slightly thicker than the first so that the underlying nail is completely covered. Wait two or three minutes until this coat of polish dries thoroughly.
Step 7
Open a bottle of clear, top-coat polish. Paint a thin layer over the surface of all of your nails. Start at the base of the nail near the cuticle and apply the polish in single strokes up to the tip. Overlap each stroke just enough to prevent gaps. Don’t overwork the polish by repeatedly painting over the wet portions, as this will cause steaks.