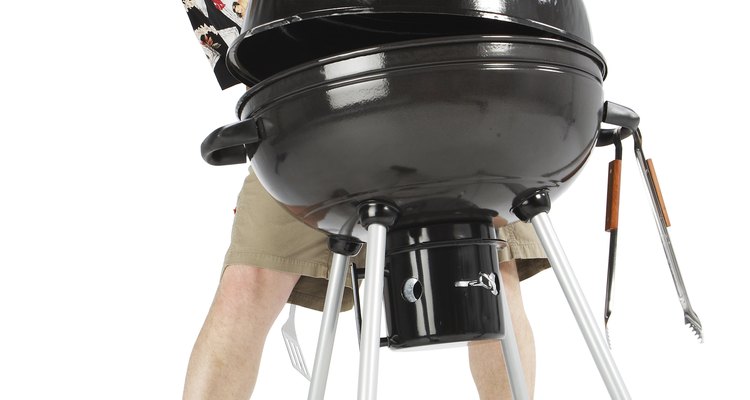
NA/PhotoObjects.net/Getty Images
Over time, the seal on a BBQ grill may deteriorate, and the original gasket may even melt or fall off. Sealing a BBQ grill restores it for best performance and energy savings. With a new seal, the grill uses less gas or charcoal. The lid's seal also contributes to even cooking, and to using a grill as a smoker. Although sealing a BBQ grill usually refers to sealing the lid, the term can also refer to sealing the grill's racks to prevent flavor transfer.
Supplies for Gasket Replacement
Adhesive and gaskets often break down, resulting in air leaks and heat loss. Woven cord used to seal furnaces and fireplace doors resists heat. Home supply vendors and furnace equipment suppliers provide this cord and adhesive designed for high heat. There are also specialty products for BBQ grills such as kits that come with a gasket that's a flat strip to seal barbecue lids. This type of product may fit certain grills better than a woven cord. Removing and examining the original seal can help you choose the best type of replacement seal for your grill.
Removing the Old Gasket
You can use a chisel or flat head screwdriver to pry the old gasket off of the grill lid. To create a strong seal, remove the entire gasket and replace it instead of attempting to replace only part of the gasket. Leftover residue can interfere with the new adhesive. A wire brush works well for thoroughly preparing the surface for the new gasket. Using a narrow wire brush reduces the risk of scratching visible surfaces of the BBQ grill. Certain manufacturers offer replacement gaskets for their grills. Only use adhesive designed specifically to withstand the heat of a BBQ or furnace.
Sealing the BBQ
Before cutting the gasket, it's best to fit it along the edge of the lid. This reduces the risk of cutting the gasket too short. A 1/8-inch line of adhesive spread with a wire brush or old toothbrush along the edge of the grill's lid creates ridges of glue to attach the gasket. Apply even pressure, without pulling the gasket, to ensure accurate installation. Cut the gasket with a utility knife so the ends meet and form a complete seal for the lid. To complete the gasket installation, allow the glue to air dry, and then cure it by slowly raising the grill's temperature to at least 400 degrees Fahrenheit and keeping it at that temperature for an hour.
Sealing the Grill Surface Between Foods
For food safety and grill maintenance, clean the grill between each use. Brushing the grill surface with vegetable oil will season the grill to keep food from sticking. Rubbing the grill with a cut raw potato is a trick for sealing the grill between grilling different foods: The liquid starch seals the grill surface to reduce the risk of transferring food flavors. For example, after grilling salmon, clean the grill with a grill brush, season the grill with vegetable oil and rub a cut potato on the grill plates. Doing this before changing foods keeps the grill from transferring flavor.
Related Articles

How to Hook Up Your Weber Natural Gas ...

How to Season a Stainless Steel Grill

How to Restore Weathered Metal Furniture
How to Use a Smoker Box for Gas Grilling
How to Cook Halibut on Wooden Planks
How to Fix Ripped Rubber Boots

How to Change the Battery on an Oral-B ...

How to Glue a Leather Shoe Strap

Denatured Alcohol Uses
How to Remove Loctite From Clothes

How to Use a Weber Gas Grill: First ...

How to Remove Foam From Vinyl Window ...

How to Cook on a Stovetop Grill

How to Repair Leather Jackets
How to Stop Satin from Fraying

How to Mend Shoelaces

How to Fix a Ripped Winter Coat

How to Cook Top Sirloin Steak on a ...

How to Fix a Burn Hole in a Polyester ...

What Kind of Solvent Should be Used ...
References
Writer Bio
Gryphon Adams began publishing in 1985. He contributed to the "San Francisco Chronicle" and "Dark Voices." Adams writes about a variety of topics, including teaching, floral design, landscaping and home furnishings. Adams is a certified health educator and a massage practitioner. He received his Master of Fine Arts at San Francisco State University.
Photo Credits
NA/PhotoObjects.net/Getty Images