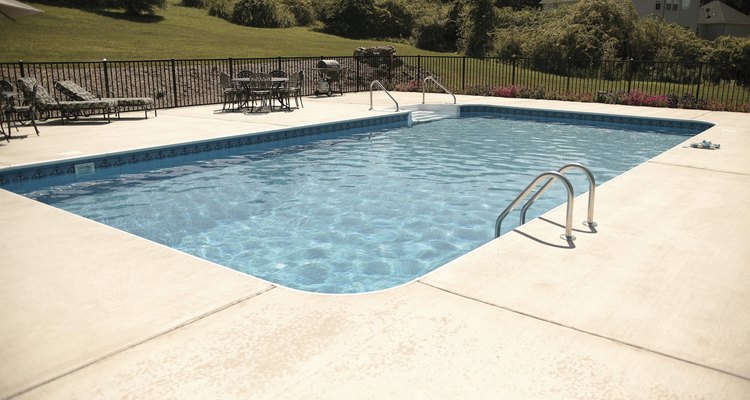
Comstock/Stockbyte/Getty Images
Fiberglass pools offer a high level of strength and durability, as well as flexible design options to fit the needs of different applications. Over time, your fiberglass pool may develop small cracks or other signs of damage due to poor installation, shifts in the terrain or simple wear and tear. Instead of hiring a contractor to repair your pool, fix yourself using a fiberglass repair kit and a few simple tools.
Drain the pool so the water level is below the crack. Effective fiberglass repair requires a clean, dry surface.
Sand the crack and surrounding area using a small hand sander or a piece of medium-grit sandpaper. Smooth away any bumps or raised sections around the crack and remove loose pieces of fiberglass.
Put on your safety glasses. Cut along the length of the crack using a saw with a diamond blade. Extend the cut a few inches beyond the length of the crack or either end.
Apply a coat of epoxy bonding agent from your repair kit to the crack using a small paint brush. Be sure to fill the inside of the crack so the epoxy extends as far into the void as you can reach.
Mix the putty or filler according to the instructions on the fiberglass repair kit packaging. Fill the entire cracked area with putty, then smooth out the surface and remove excess filler using a putty knife. Allow the putty to dry completely before proceeding.
Create a border around the crack using tape. Make sure the tape surrounds the entire damaged area.
Paint the area inside the crack using the gel coat from your fiberglass repair kit. Immediately cover the gel coat with a sheet of fiberglass cloth so that the cloth extends 2-inches in each direction beyond the cracked section.
Paint over the fiberglass fabric using a second coat of gel from the repair kit. Press out any bubbles or air pockets beneath the fabric using your paint brush or a putty knife.
Wait for the patched area to dry completely, then sand it smooth so it blends in with the surrounding surface. Paint the repaired area using an epoxy gel paint to create the desired finish.
Related Articles

How to Repair a Leather Belt

How to Fix Holes in Pantyhose

How to Fix a Ripped Winter Coat

How to Waterproof a Leather Jacket
How to Fix Crepe Soles

How to Fix a Nike Cortez If the Sole Is ...

How to Repair a Torn Lambskin Leather ...
How to Repair Sheepskin Slippers

How to Clear Up Severe Cracks Around ...
How to Repair Gouged Leather Shoes

How to Refinish the Bottom of a ...
How to Remove Adhesive No-Sew Tape

How to Repair a Hole in a Wool Coat

How to Repair Leather Jackets
The Best Way to Stretch Patent Leather ...
How to Clean a Chamois Leather Jacket ...
How to Repair a Split Rubber Sole

How to Remove Foam From Vinyl Window ...

How to Soak Acrylic Nails off in Nail ...

How to Fix Leather Boots
References
Writer Bio
Emily Beach works in the commercial construction industry in Maryland. She received her LEED accreditation from the U.S. Green Building Council in 2008 and is in the process of working towards an Architectural Hardware Consultant certification from the Door and Hardware Institute. She received a bachelor's degree in economics and management from Goucher College in Towson, Maryland.
Photo Credits
Comstock/Stockbyte/Getty Images