Sometimes a bride gains weight after her final dress fitting and before her wedding. Other times, the dress arrives and she realizes it's one size too small, but it is too late to order a replacement dress that will arrive in time for the wedding. A problem such as this can reduce a bride to tears, but an industrious bridesmaid or a crafty family member can fix the too-snug dress in just a few hours.
Remove Previous Alterations
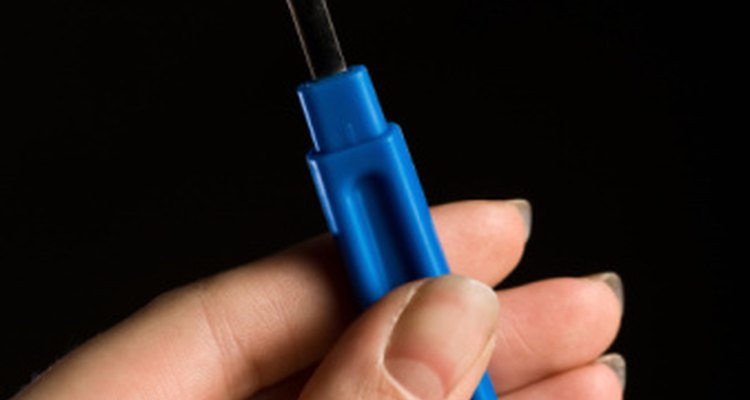
Insert a seam ripper or the tip of embroidery scissors under the stitch at the top of the side seam of the dress and carefully cut several of the stitches.
Use a needle to pull out the rest of the stitches. Be careful to avoid cutting the dress. Slip the needle under the stitch and pull out.
Grasp the fabric on either side of the seam and pull gently to separate the seam. You should be able to pull the thread out with your fingers.
Try on the dress before cutting the seam on the other side of the bodice.
Repeat Steps 1 through 3 for the other seam if the bodice is still too small.
Add a Gusset
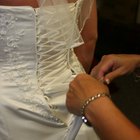
Unzip the dress until the bride feels the dress fits comfortably. For corseted dresses, loosen the laces until the bride feels comfortable.
Loosen the dress just enough for the bride to pull the dress over her head. Lay the dress out flat on a clean surface.
Measure the widest point of the opening at the top of the dress and add two inches. Measure the height of the opening and add one inch.
Select a fabric or lace that complements the dress. Cut the fabric to the dimensions determined in the previous step. This should give you a rectangle-shaped piece of fabric or lace. Use hemming tape to create a finished seam along the upper edge of the fabric.
Purchase white, hook-and-loop adhesive strips. Cut two strips measuring the same height as the fabric gusset.
Remove the backing from one side of the hook-and-loop adhesive strip and place it along the outer edge of the fabric. Repeat for the other side.
Place the fabric gusset behind the dress opening and orient the fabric to ensure the opening is completely covered.
Pin the hook-and-loop strip to the dress, securing it at both the top and the bottom of each strip.
Unzip or unlace the dress and flip the dress inside out.
Separate the hook-and-loop adhesive strips.
Unpin the hook-and-loop strip, but do not pull the pin out of the dress fabric. The pin will mark where the strip should be replaced.
Remove the adhesive backing from the hook-and-loop strip and attach it to the inside of the dress using the pins from the previous step as guides to keep the strip straight.
Repeat Steps 11 and 12 for the other hook-and-loop strip.
Attach one side of the gusset before zipping or lacing the dress. Finish attaching the gusset once the dress is secure.
Related Articles

How to Bustle a Mermaid Dress

How to Make an Alteration to a Lined ...

How to Dye a Silk Dress

How to Sew Your Own Beads on Your ...

How to Hem a Sequin Dress

How to Stretch My Dress

How to Fix a Low Neckline on a Wedding ...

How to Put Boning in the Bodice of a ...

How to Line a Wedding Gown

How to Tie a French Bustle in a Wedding ...

How to Sell My Quinceanera Dresses

How to Make Chinese Dresses

How to Shorten the Shoulder Straps to a ...

How to Bustle a Wedding Dress With an ...

How to Dye a Black Dress

How to Make a Wedding Shawl

How to Sew Tube Dresses

How to Hem a Formal Dress

How to Make Irish Dancing Costumes

What Is the Purpose of a Slip Under a ...
References
Writer Bio
Transplanted Yankee Erin Watson-Price lives in Birmingham, Ala., and has been writing freelance articles since 1997. She worked as writer/co-editor for Coast to Coast Dachshund Rescue's newsletter, "The Long and the Short of It." In 2007 she obtained a certification as a copy editor. Watson-Price holds a Bachelor of Arts in creative writing from Southern Illinois University-Edwardsville.
Photo Credits
Jupiterimages/Photos.com/Getty Images