


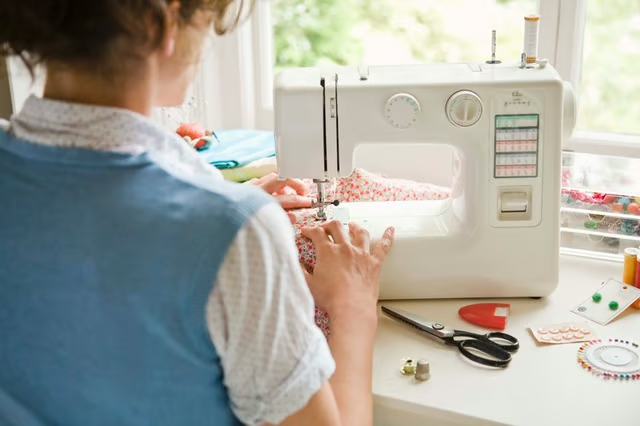
Perhaps you have lost a bit of weight and don’t want to stop wearing your favorite blouse. Or maybe you found the perfect shirt in a shop, and bought it even though it was a touch too big. Fortunately, taking in a blouse is a basic alteration and it is easy to tailor your blouse to fit, even if you are a sewing beginner.
Iron the blouse so that it is crisp and free of wrinkles. It will be much easier to work with.
Turn the blouse inside-out and put it on.
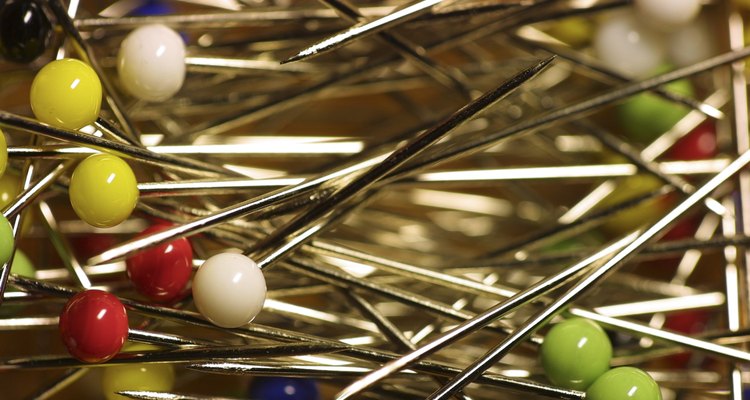
Have a friend assist you, if possible. Otherwise, stand in front of a full-length mirror. Pin along the side seams of the blouse to achieve the fit you want. Try to pin back an even amount on each side. You can adjust this later if you decide you want to take more fabric in.
Carefully take off the blouse and lay it out flat.
Look at the lines you have pinned. Use your marking pen to make a dotted line along the pin line. Adjust the line to remove any kinks, so that it is a nice gentle curve that follows the natural curve of the blouse. Do this on both sides.
Look at the two sides to see if they appear symmetrical. You can also fold the blouse in half and feel to see whether the pins line up. Do any adjusting necessary to make both sides even. Make sure that the bottom hem lines up on both sides.
Insert one side of the blouse into your sewing machine. Start about 1/2 inch over your original seam, backstitch a few stitches, and then use a straight stitch to move into your dotted line.
Stitch over the dotted line, making sure to backstitch 1/2 inch at the bottom. Repeat steps 7 and 8 on the other side of the blouse.
If you want the option to let the blouse out again later, then just press the new seams open and leave the excess fabric in place. If this will be a permanent alteration, clip off the excess fabric leaving about a 3/8-inch seam allowance.

Using a serger or a zigzag stitch, go over the raw edges inside your new side seam, so that it doesn’t unravel.