It is fun to buy girl’s clothing, and even more fun to make if you are the creative type. There’s no reason to buy fabric if you have an old t-shirt. A little improvising is all it takes to turn well-worn clothing into a cute dress for a little girl. Kids grow fast and it’s hard to keep up with their wardrobe, so instead of spending a lot of money on clothing, recycle or re-purpose an old t-shirt into something new for your growing little girl. There are dozens of options, but sometimes the more simple method is the best method to getting the task done.
Preparation
Decide where you would like to attach the skirt to the t-shirt and measure either the waist or hips. Measure from this point to the knee area to determine the size of the skirt and the length of the dress. Measure around the hips and double it for the width, adding one inch for each seam.
Use a t-shirt that will fit the size needed for this project, along with coordinating fabric that can be used for the skirt. A worn garment will work great for the skirt fabric so you don't have to buy new fabric.
Lay the fabric for the skirt out on a table and press with an iron to get rid of the wrinkles and preshrink it if necessary. Even when you’re gathering fabric, accuracy is important.
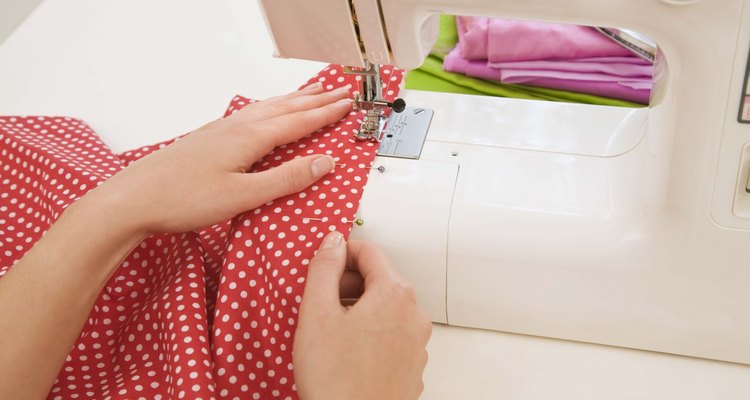
Measure, mark and cut out a rectangular piece of fabric for the skirt according to your measurements. Pin the side seams right sides together and sew using a straight stitch. Gather the top edge of the skirt by running a wide zigzag stitch over top of a piece of nylon thread. Stick a pin at one end of the stitching and wind the nylon thread in a figure-eight to secure it around the pin. Pull on the other end of the nylon thread while you push the fabric with your other hand. Gather it to the proper waist measurement.
Finish the bottom hem by hand sewing, or if it is a play dress use a simple straight stitch with your sewing machine to save time.
Attach skirt to t-shirt
Determine where you would like to attach the skirt and cut the bottom portion off of the t-shirt if necessary, reserving enough for a ½ inch seam.
Turn the skirt so it is wrong-side out. With the t-shirt right-side facing out, tuck it inside the skirt so that the bottom edge lines up with the gathered edge on the skirt. Pin the raw edges together, making sure the gathers on the skirt are all uniform.
Stitch the t-shirt and the skirt together using a straight stitch, with the gathered skirt section on top of the t-shirt. Make sure to keep the zigzag stitch used for gathering the skirt on the seam side of the straight stitching so it doesn’t show. Hold the gathers in place with the left hand as you maneuver the fabrics under the pressure foot as you sew.
Trim away excess bulk and press the seam open. Be careful not to press creases in the gathers as you apply the final touches to the dress. Turn the skirt right-side out and see how it fits your little girl.
Related Articles

How to Hem a Formal Dress
How to Make a Dress Shirt

How to Hem a Sequin Dress

How to Make a Children's Folklorico ...
How to Make T-shirt Sleeves Smaller

How to Make a Dress Poof
How to Hem a Sequin Dress

How to Make Tank Tops Out of T-Shirts

Steaming a Chiffon Wedding Dress

How to Turn a T-Shirt Into a Muscle ...

How to Bustle a Mermaid Dress

How to Put an Elastic Band in Pajama ...

How to Fold a Dress Without Wrinkling

How to Make a Child's Graduation Gown
How to Make a Bridal Cape for a Wedding ...

How to Fix a Low Neckline on a Wedding ...

Turning a Shirt Into a Tank Top for Men

How to Make a Prairie Skirt

How to Make a Can-Can Costume

How to Make Stirrups for Jeans
References
Writer Bio
In 2003, Kelly Thomas began creating newspaper ads, business brochures and cards for local businesses. Her work has appeared in the "Ludington Daily News." In 2005, she graduated with her Bachelor of Applied Arts in business management from Davenport University.
Photo Credits
Jupiterimages/Polka Dot/Getty Images