Oyster shell buttons bring an elegant and aquatic touch to nearly every outfit they adorn. Their delicateness combined with the swirl of colors they display make them a beautiful complement to many different colors and fabrics. For those interested in making their own oyster shell buttons, the process is both exciting and challenging, and made all the more wonderful once your buttons are sewn on and admired by friends and strangers alike.
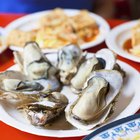
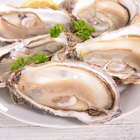
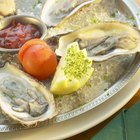
Acquire your oyster shells. The most efficient way is to pick up some from your local grocer, seafood marketplace or nearby seafood restaurant. For restaurants, call ahead of time or make friends with staff members since they will be going out of their way for you. You can also order mother-of-pearl online (see Resources).
Soak your shells in equal parts of bleach and water or vinegar and water to remove the scent of the sea. Let then sit fully immersed for 12 to 24 hours, then rinse and soak them again in a solution of equal parts water and baking soda. You will need to do this multiple times to completely neutralize the oceanic aroma.
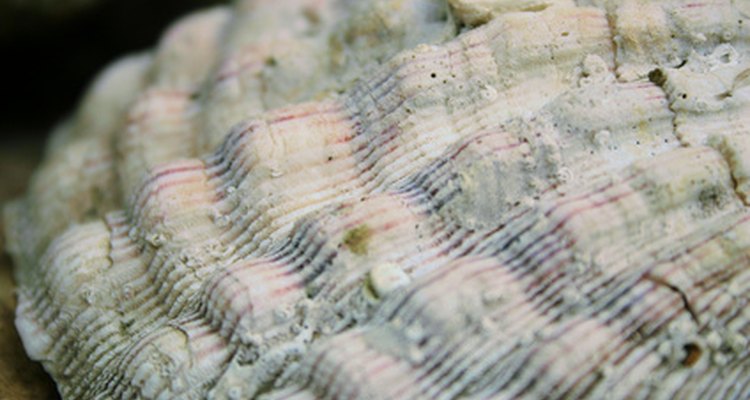
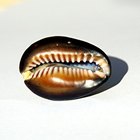
Remove the mother-of-pearl, also known as nacre, from the inner surface of the shell by scooping it out with a fine knife. Wear cutting gloves during this process to protect your hands. Use the large woodworker's clamp to brace your bird beak cutout onto a sturdy surface, then add the smaller clamp to secure the piece of mother-of-pearl you will be cutting onto the cutout.
Cut your desired button shape into your sheet of paper, add a thin layer of glue from your glue stick, and attach the shape pattern to the nacre. Use your jeweler’s saw to carefully cut the nacre in your desired shape and size.
Cut the number of button holes you would like into the button using the tip of your fine knife. Buff away any rough edges with fine-grain sandpaper. Sew your buttons onto your desired outfit and enjoy.
Related Articles

How to Cook Fresh Oysters to Make Stew

Mother of Pearl Vs. Shell Buttons
How to Cook Fresh Oysters on a Barbecue
How to Replace a Missing Button
How to Get Studs Off of a Jacket
How to Steam a Quahog
How to Cook Oysters on the Stove
How to String Cowrie Shells

How to Boil Conch in the Shell

How to Make Skull Caps With a Bandana
How to Cook Large Prawns
How to Cook Crab Claws
How to Identify a Josten's Insignia Ring
How to Make a French Cuff
How to Add Diamonds to the Bezel of a ...
How to Harvest Pearls

How to Replace Shirt Buttons With Cuff ...
How to Prepare Raw Oysters

How to Cook Dried Chickpeas Without a ...

How to Fix a Cowboy Hat That Is Too Big
References
- "50 Heirloom Buttons to Make"; Nancy Nehring; 1996
- "Bead and Button, Ribbon and Felt Jewelry: 35 Sewing-box Treasures to Make & Give"; Deborah Schneebeli-Morrell; 2007
Writer Bio
Jen Wilson began her literary career in 2006 generating screenplay coverage for film production companies while freelancing in A&R for independent record labels. Wilson is an arts, style and small business contributor for various websites and attended California State University, Fullerton, first as a musical theater major and later with a concentration in directing.
Photo Credits
seashell image by Allyson Ricketts from Fotolia.com