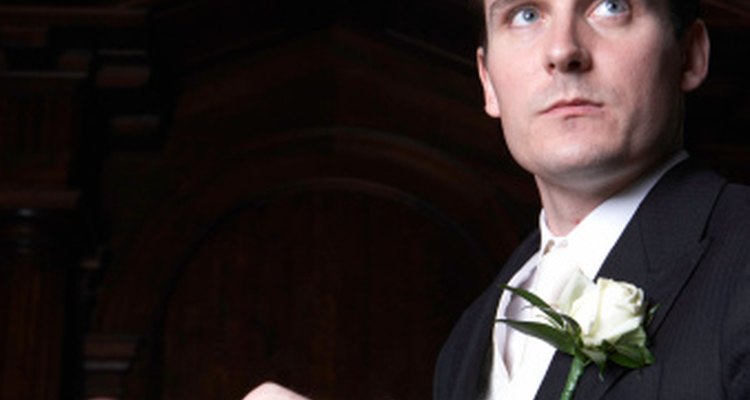
Corsages for men are more commonly referred to as boutonnieres. Instead of being worn around the wrist, as most traditional corsages are worn by women, the boutonniere is pinned to the lapel as an accent to a man’s suit. These corsages are usually made from a single, sturdy flower such as a rose that will not fall apart during the special event, and are complemented with a small amount of foliage. When making a corsage for a man, avoid creating an elaborate flower arrangement which might look too feminine.
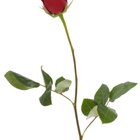
Cut the rose from the stem, leaving about an 1 1/2 inches of stem remaining - this will be used to fasten the corsage.
Wrap the entire stem of the rose, starting at the top, with floral tape. Wrap the tape around the entire stem until you reach the base, and then cut off the extra tape.
Cut off a piece of greenery from the rose - a few simple leaves will serve this purpose. Place the leaf behind the rose and secure it by wrapping the floral tape around the stem of the leaf to secure it.
Attach a boutonniere pin to the corsage to cover up the stem, and pin the corsage to the man’s lapel.
Related Articles

How to Make a Cascading Orchid Bridal ...

How to Make a Wedding Cascade Bouquet

How to Make a Nosegay

How to Make Wedding Corsages With Silk ...
How to Make Crystal Wedding Bouquets & ...
How to Make Indian Wedding Garlands

The Difference Between a Corsage & ...

Etiquette for Wedding Buttonholes

How to Make a Silk Calla Lily ...

How to Fold a Hankie and Make a Flower

How to Make a Bridal Cascading Bouquet ...
How to Julienne Mint

How to Make Artificial Bouquets
How to Make Long-Stemmed Rose Bridal ...

How to Make Toasted Bread Sticks With ...

Difference Between Peppermint Extract & ...
How to Cook Brussels Sprout Greens

Corsage Flowers & Meanings
How to Tie a Kimono Belt for a Man
How to Make a Rose Scarf
Writer Bio
Elyse James began writing professionally in 2006 after deciding to pursue a career in journalism. She has written for "The Algonquin Times" as a general assignment reporter and published blogs and articles on Webcitybeat. James holds a Bachelor of Journalism from the University of Ottawa.
Photo Credits
Michael Blann/Digital Vision/Getty Images