Jupiterimages/Photos.com/Getty Images
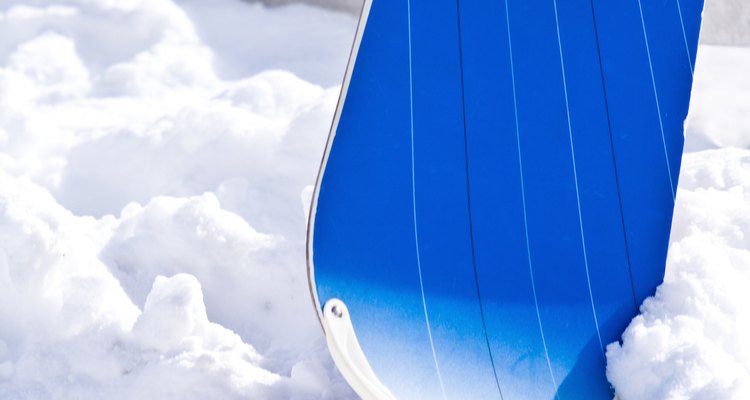
After a hard season of shredding, a board’s finish can be degraded by salt, dirt and other elements in the snow, and cracks and scuffs can allow deeper penetration of these harmful elements. Resurfacing the top of a snowboard can be a cheap way to refresh a board's looks while ensuring it will last for seasons to come. While resurfacing, you can also repaint your board.
Check the Board Shape
Before beginning, make sure your board is shaped properly. A convex or concave board is much more difficult to resurface than a flat board and should be professionally done to avoid ruining your board. If your board is flat, make sure the surface is free of significant warping. Refinishing boards that are not flat will often result in an uneven job that looks unsightly and wears quickly.
Prepare the Board
Remove the bindings from the board. Wipe the board down with rubbing alcohol or another solvent to clean any grime from the surface. Once the board is clean and dry, use a fine-grit sandpaper to remove the finish, leaving a rough surface for the new finish to bind onto. Apply light, even pressure when sanding to avoid uneven results. Paint and finish tend to bond to rougher surfaces more deeply than to lightly sanded ones. If you are trying to keep the original paint in place, be careful to not oversand.
Paint
Although a fresh coat of paint is optional, it can refresh the look of an old board. If you are painting your board, use a marine or automotive grade spray and evenly coat the sanded surface. Tape off the edges of the board and any other areas that you do not want painted. Spray two to three coats for durability and sheen, taking care to allow each coat to dry thoroughly before another one is applied.
Apply the Finish
Seal your freshly painted board with a waterproof polyurethane varnish. Take care not to overapply your finish, as it will drip or pool, resulting in blemishes. Although these won’t affect your board’s performance since they are on top, you will have to look at them every time you strap up. Once the finish is dried, remove the tape and reattach your bindings. Your board is now ready to hit the slopes.
Related Articles
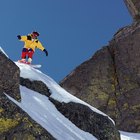
How to Refinish the Bottom of a ...
How to Paint on Leather Boots

How to Get Nail Stickers to Stick Well
How to Make Your Own Bulletin Board ...
How to Change the Color of Leather
How to Cheaply Make a Portable Dance ...
How to Get Paint Off of Your Uggs
How to Apply Nail Polish Without Streaks

Coloring a Faded Leather Jacket

How to Waterproof a Leather Jacket
How to Paint Gold Buckles a Silver Color

How to Get Dirt Off of Ivory Satin Shoes
How to Care for Ariat Cowboy Boots
How to Clean a Chamois Leather Jacket ...
How to Repair Ripped Leather
How to Grill Mahi Mahi With Planks
How Do I Clean the Inside of Fleece ...
How to Seal Winter Boot Seams
How to Make an Omni-Tech Jacket ...
How to Fix Nubuck Shoes
References
Writer Bio
Calvin Harris is a certified climbing instructor, licensed attorney, real estate agent and writer based in Texas. He has worked in a variety of fields, including law, construction, energy and government.
Photo Credits
Jupiterimages/Photos.com/Getty Images