


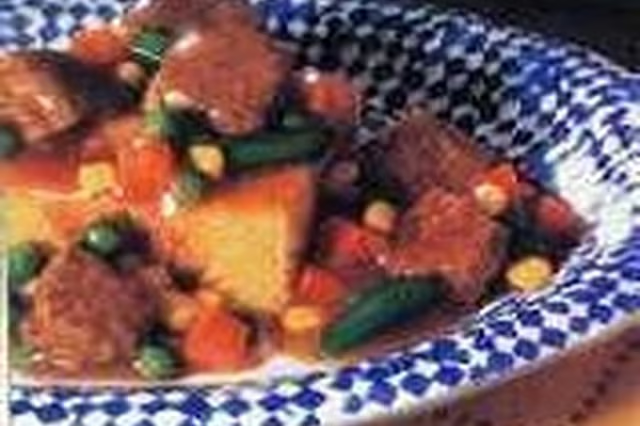

Making homemade vegetable beef soup is much more enjoyable than eating the commercial kind. If you make a large batch, you can seal the soup in jars and you will have vegetable beef soup anytime you wish for a quick and hearty meal. Add cornbread, and it is one of the best comfort foods there is. Since homemade vegetable beef soup has beef in it, a pressure canner is required in order to process the soup correctly to avoid spoilage.
Combine beef stock, tomato paste, soy sauce, Worcestershire sauce and vinegar in a large stock pot and bring to a boil. Reduce heat and add potatoes, carrots, peppers, beans, meat, barley and onions. Cover and simmer 2 hours.
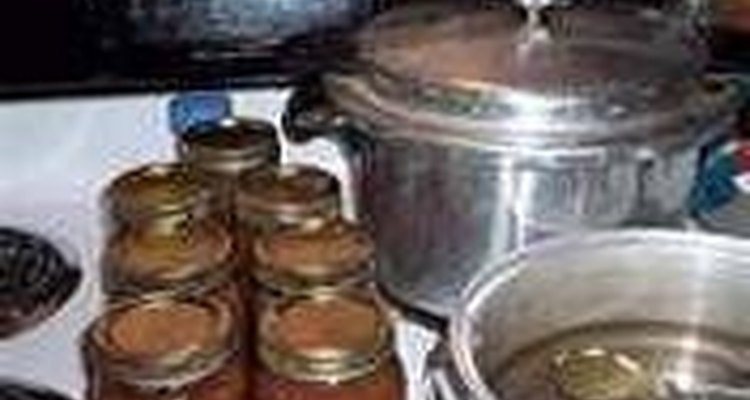
Add water to the pressure canner in the meantime and place on medium heat just to boiling. Do not seal the pressure canner lid at this point.
Wash and sterilize 6 to 8 canning jars in the dishwasher on a regular cycle.
Place the lids in water in a small saucepan and keep hot.
Add basil, thyme and spinach to the pot and cook for five minutes more.
Pack the soup into the hot jars, leaving a 1-inch headspace. Wipe thoroughly around the ring with a wet cloth to remove any soup residue. Remove any air bubbles in the jar by placing a spoon or knife down the sides and repositioning the ingredients until all the bubbles rise to the top.
Place 1 hot lid on top of the jar and a ring over the lid. Hand-tighten the ring.
Repeat Steps 6 and 7 until all the jars and filled and ready to process. Work quickly.
Place the jars into the hot water in the canner. Make sure the water completely covers the jars. Seal the canner and process 60 minutes for pints or 75 minutes for quarts at 10 lbs. of pressure. Keep a close watch on the pressure. If the pressure starts rising, lower the temperature on the burner. It is important to maintain 10 lbs. of pressure.
Remove the jars carefully with the jar pullers after processing. Allow to cool and store in a cool, dry place.