mitarart/iStock/Getty Images
The wheat used to make bread in modern times has its origins in ancient grains and grasses still available today. These ancient grains serve as excellent additions to bread and provide nutrients and flavors that complement that of wheat. The best known ancient grain flours are amaranth, kamut and spelt. Due to their varying amounts of protein, also called gluten, they work best when incorporated into wheat flour in certain proportions. Making bread with these grains is a tasty and economical way to incorporate them into your nutrition plan.
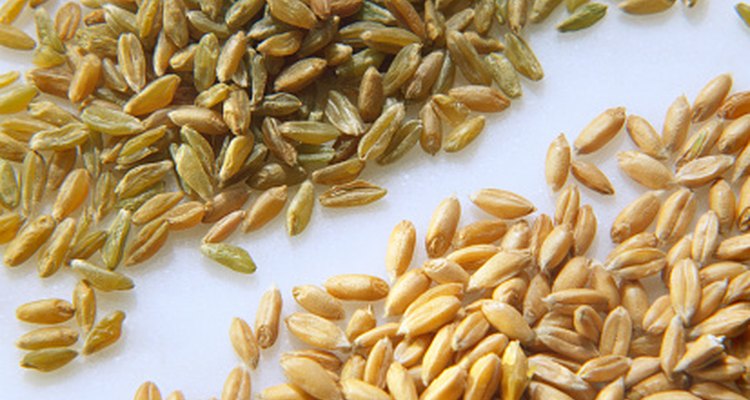
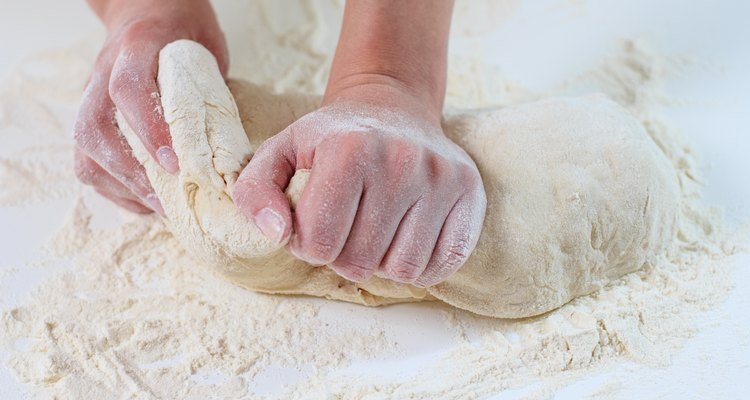
Mix the dough of your favorite whole-wheat bread recipe with the ancient grain flours of your choice. Because of the differences in protein content of the ancient grains and wheat flour, it is best to have a proportion of two-thirds wheat flour to one-third spelt, kamut, or amaranth flour. The more protein present in the flour, the more alive and elastic it feels when kneaded.
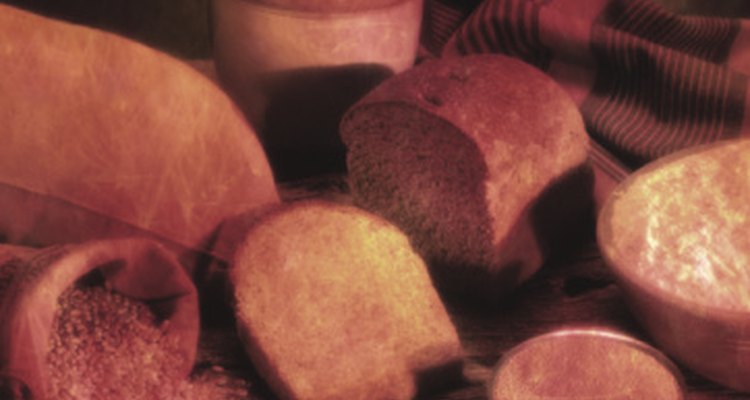
Leave the dough in the mixing bowl and let it rise in a warm and draft-free location. The ideal temperature is 75 degrees Fahrenheit.
Punch the dough down when it is doubled in size and leave it for a second rise, again to double in size. Since the spelt, kamut, and/or amaranth will contribute different proportions of nutrients to feed the yeast, the dough may take longer to rise. Rising times for the first and second rise can be anywhere from an hour to several hours. The flavor of the bread develops during the rise time, so it is well worth the wait.
Shape the loaf. Shaping the dough is great fun and you can get really creative. The dough can be placed on a baking stone, in a bread loaf pan, or in a specially shaped bread form such as for baguettes. Coat your hands in flour and sprinkle some flour on the counter or baking stone. Round loaves are the easiest to make; simply gather the dough into a big ball. For a loaf, roll the dough into a rectangle, then fold the rectangle into thirds, tucking the ends under the loaf when placing it into the loaf pan. Baguettes are formed by rolling dough into a cylinder, then cutting the cylinder into pieces along its length. Place each piece into a baguette form.
Let the shaped loaf or loaves rise again a third time until they are again almost double in size.
Slash the top of the loaf or loaves to prevent deeper cracks from forming when the bread rises in baking.
Bake the bread at 400 degrees Fahrenheit. Depending on the size and shape of the loaf, it will bake up to 1 hour. The bread is ready when the internal temperature reaches 190 to 200 degrees Fahrenheit, and the loaf will sound hollow when tapped.
Related Articles

What Happens if You Leave Bread Dough ...

Can You Refrigerate Homemade Yeast ...

How to Freeze Brioche

Can I Make Chapati Dough in Advance?

How Many Calories in Gluten-Free Bread?
How to Preserve Dough That Has Risen
Secret to Making Soft Chewy Italian ...
How to Make Bread That Does Not Crumble ...

Can I Substitute Bleached for ...

How to Make Pasta Dura Bread

How to Egg Wash a Loaf of Challah Bread
How to Keep Crusty Italian Bread Soft

How to Make Light Airy Italian Bread ...

Alternative Flours to Make Pizza

What Is the Finger Test for Bread Dough?

Does Yeast Cause Holes in Bread?

How to Make Bread Chewy
How Long to Knead Bread Dough by Hand?

How to Make Pizza With Semolina Flour

Why Bread Dough Does Not Rise
References
Tips
- A bread machine does all the work of kneading, rising, and baking automatically. It is only necessary to add the ingredients in the recipe and push the start button on the bread machine. Bread machines also have a dough setting that allows the home baker to shape the dough and bake it in a conventional oven for a more rustic appearance.
- Bread baking is an ancient art, so have fun with it and develop your own special breads. Bread is alive, meaning that a loaf mixed, shaped and baked one day with a specific recipe may turn out differently the very next day even when the same recipe is used.
- Use a baker's peel to remove the bread form the oven in order to protect your face and hands from the heat.
Writer Bio
Tina Bernstein started her professional writing career in 2011. A biomedical engineer and personal trainer certified through ACSM and NASM, she trains clients in Los Angeles to take control of their exercise and nutrition habits. Bernstein graduated from the University of Southern California with a master's degree in medical device engineering and works with companies to commercialize new medical technologies.
Photo Credits
mitarart/iStock/Getty Images