sveta_zarzamora/iStock/GettyImages
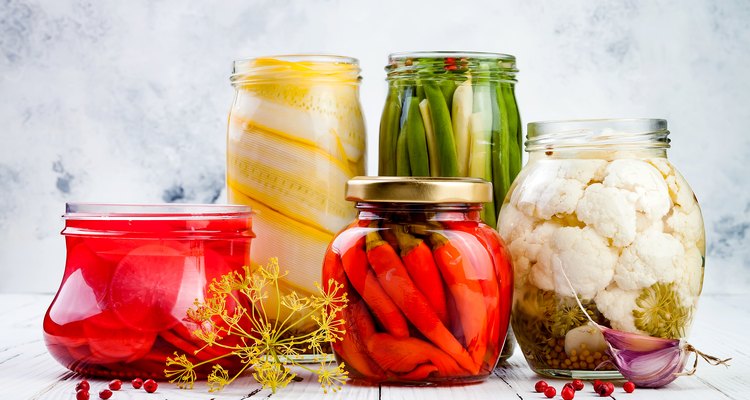
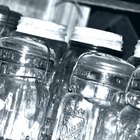
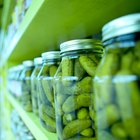
Canning in mason jars is a great way to keep food preserved without refrigeration. While canning is not extremely complicated, it is very important that you use the correct method for the type of food you are preserving to make sure your canned goods do not expire prematurely. The most common methods of canning are water bath canning, which involves heating and sealing your canned goods on the stovetop with a large pot of hot water, and pressure canning, which requires the use of a pressure canner and more thoroughly heats the canned food.
Get Prepared
Before you start canning it is important that you gather the needed tools and disinfect them properly. Besides your jars, bands and lids you will need a way to handle the hot jars such as tongs or a jar lifter, a wooden spoon and a funnel for filling the jars. Wash out your jars, lids and bands with hot soapy water and rinse them out well. Store your jars in hot--but not boiling--water until you fill them to prevent the jars from breaking after contact with the hot food. Inspect your lids to make sure there are no cracks, chips or sharp edges as this could prevent the jars from sealing properly.
Water Bath Canning Technique
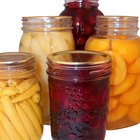
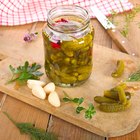
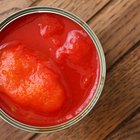
Water bath canning is ideal for acidic foods such as fruits, salsa, pickles and chutneys as the acid in the food kills bacteria, negating the need for the high heat of the pressure canner. It is important that you do not can foods with low acidity this way as bacteria could spread in the finished product and cause your food to spoil. You will need a large pot with an inside rack and lid that is deep enough to cover the jars with water.
To begin, fill your large pot with rack halfway with water and bring to a simmer.
Remove the jars from the hot water with your tongs or jar lifter.
Fill them with the acidic food you are canning using the funnel. Be sure to clean off the threads of the jar with a damp clean cloth.
Seal your jars and place them in the hot water bath and raise the heat. When the bath is at a rolling boil let the jars process for the time specified in your canning recipe.
When your jars have finished the water bath portion of the process remove them from the bath with your tongs or jar lifter and place them upright on a towel (in case any of the jars break from temperature change) and let them rest for 24 hours.
Do not retighten the bands while the jars are cooling as this could break the seal on the lids.
After your jars have rested check all of the seals to make sure they are airtight and none of the lids have popped up. If your jars are all sealed they can be labeled and stored. Any jars that have not sealed properly can either be refrigerated for immediate use or reprocessed.
Pressure Canning Method
Pressure canning is the preferred method for preserving vegetables, meats and anything that is low in acid content. Use a pressure canner for this method.
Heat 2 to 3 inches of water in the pressure canner over medium-high heat and keep it at a simmer until the jars are filled and placed inside. When using a pressure canner, follow the instructions included with your unit as they can vary greatly.
Lock the lid of the pressure canner and allow steam to release through the vent pipe for 10 minutes to ensure there is only steam left inside the canner. Close the vent and adjust the heat to the recommended amount of pressure in the manufacturer instructions.
Remove the jars from the unit with your tongs or jar lifter after the pressure releases. Set your jars upright on a towel and allow to rest for 24 hours. Check your jar seals, label and store.
Related Articles
How to Vacuum Seal Jars

How to Pressure Can Trout

How to Preserve Sauerkraut
Why Do Canning Jars Pop While Cooling?

How to Can With Half-Pint Jars

Which Foods Can Be Canned?
Problems With Black on Canning Jar Rim
How to Can Salmon Fish
Heating Foods in Plastic & BPA
How to Can Jelly Using a Pressure Canner
Instructions for Canning With a ...
How to Preserve Pimentos
How to Can Venison Meat
How to Can Fish in a Pressure Canner
How to Process & Seal Hot Sauce Bottles
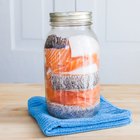
How to Dry Pack Long-Term Food in Mason ...

How to Can Pork Tenderloin in Half Pint ...
How to Preserve Salsa Made With Canned ...
Do You Need to Cook Chicken Before ...

How Long Can Food Stored in Canning ...
References
Warnings
- Old-fashioned methods of sealing Mason jars in an oven or by turning the jars of hot food upside down are not approved as safe by the U.S. Department of Agriculture.
Writer Bio
Indulging her passion for healthy living and fitness through the written word on a full-time basis since 2010, former health coach, fitness instructor and world-class athlete Jodi Thornton-O'Connell guides readers to discover fun and delicious ways to physically connect to their surroundings.